Editing tools: fix your images in post
Your first generation is a starting point, not the finish line. The editing tools fix small issues and turn a good image into a great one without starting again.
Edit · 5 min read · Updated 2026-11-11
What you'll learn
- Why editing beats regenerating
- How to use In-paint to fix one area
- The key technique: paint around the area, not just the problem
- Tips for getting the best results from edits
The 80/20 mindset
Most creators learn this after a while: you'll rarely get a finished image from the first generation, but you'll often get one that's 80-90% of the way there. The pose is right, the lighting works and the outfit looks good, but a hand looks a little off or there's a small artefact in the background.
That's what the editing tools are for. Instead of regenerating again and again, you take the nearly finished image and fix the parts that need it. It's faster, more predictable and gives you more control over the result.
The photo tools
Open any photo from the Create page or your Vault and you'll see the tool rail beside it.
- Comment Edits. Pin notes on the spots you want changed and send them together. See the Comment Edits guide.
- In-paint. Paint over an area and describe what should be there. The rest of the image stays as it is. This guide covers it in detail.
- Re-imagine. Change the entire composition of the photo.
- Expression. Change your character's expression.
- Crop and Filters. Reframe the photo and adjust its look.
- Upscale. Make a larger, sharper version at 2K or 4K.
Made in Sozee.
What In-paint fixes best
- Hands and fingers. The most common issue in generated images. Extra fingers, awkward poses or merged fingers are quick to fix.
- Facial details. Fix slight eye asymmetry, soften an odd expression or correct small artefacts on the face without touching the rest of the image.
- Background issues. Remove distracting artefacts, fix strange objects in the background or clean up areas that came out wrong.
- Clothing and accessories. Fix warped jewellery, correct clothing details or clean up fabric textures.
How to use In-paint
- Open the image you want to edit From the Create page or your Vault, click the image to open it, then choose In-paint from the tool rail.
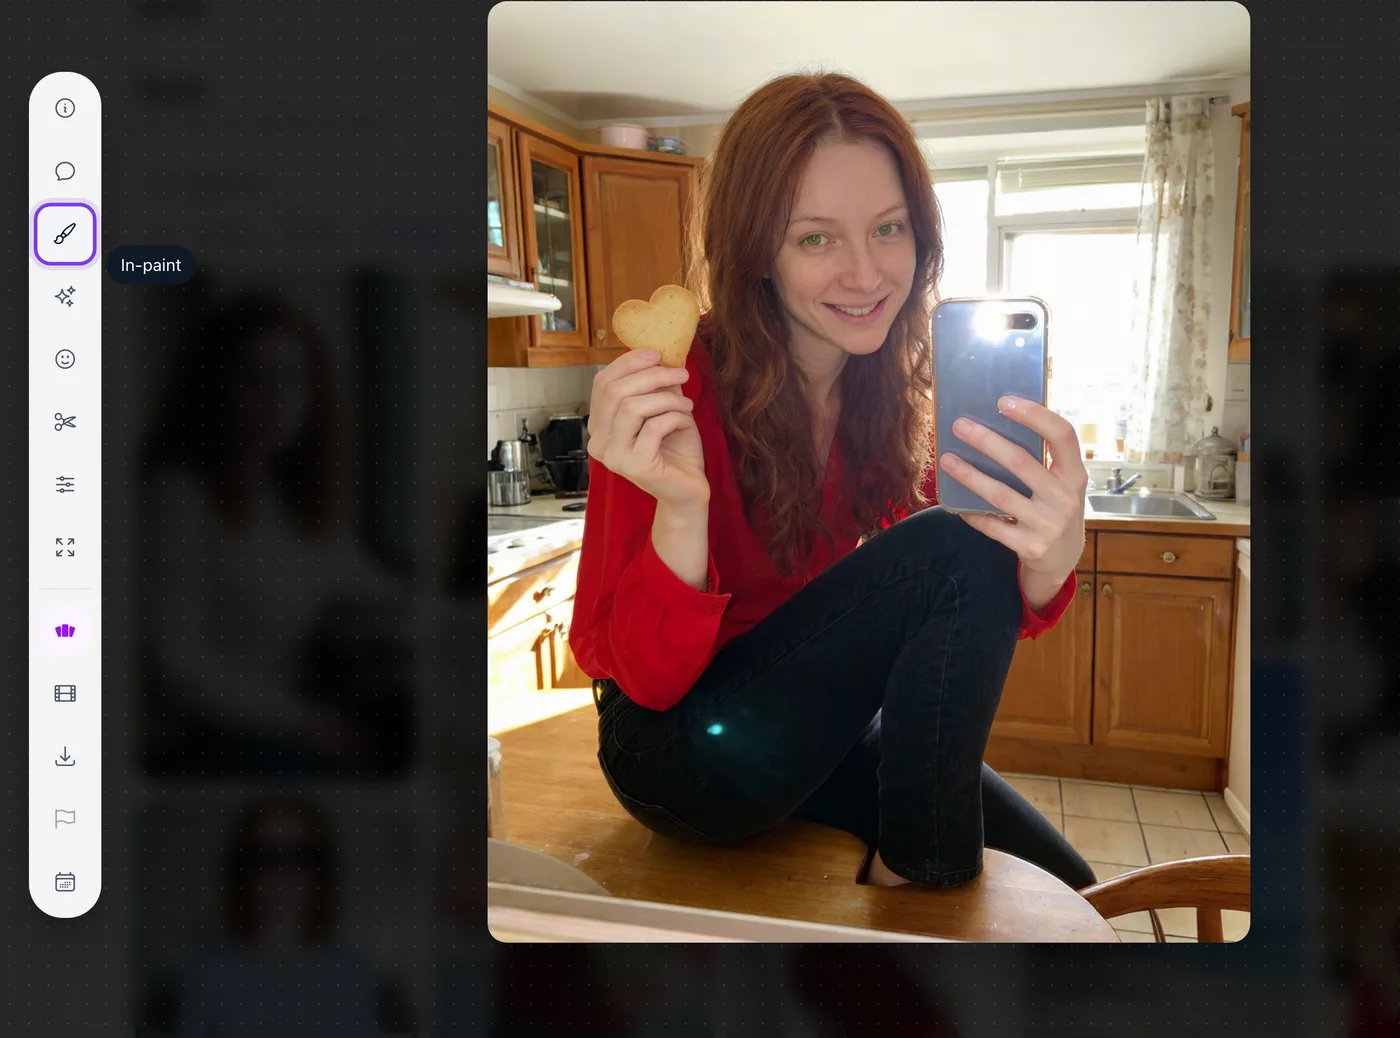
In the app. In-paint in the tool rail beside the photo. - Set your brush Choose a brush size that suits the area you want to fix. You can change the size as you go.
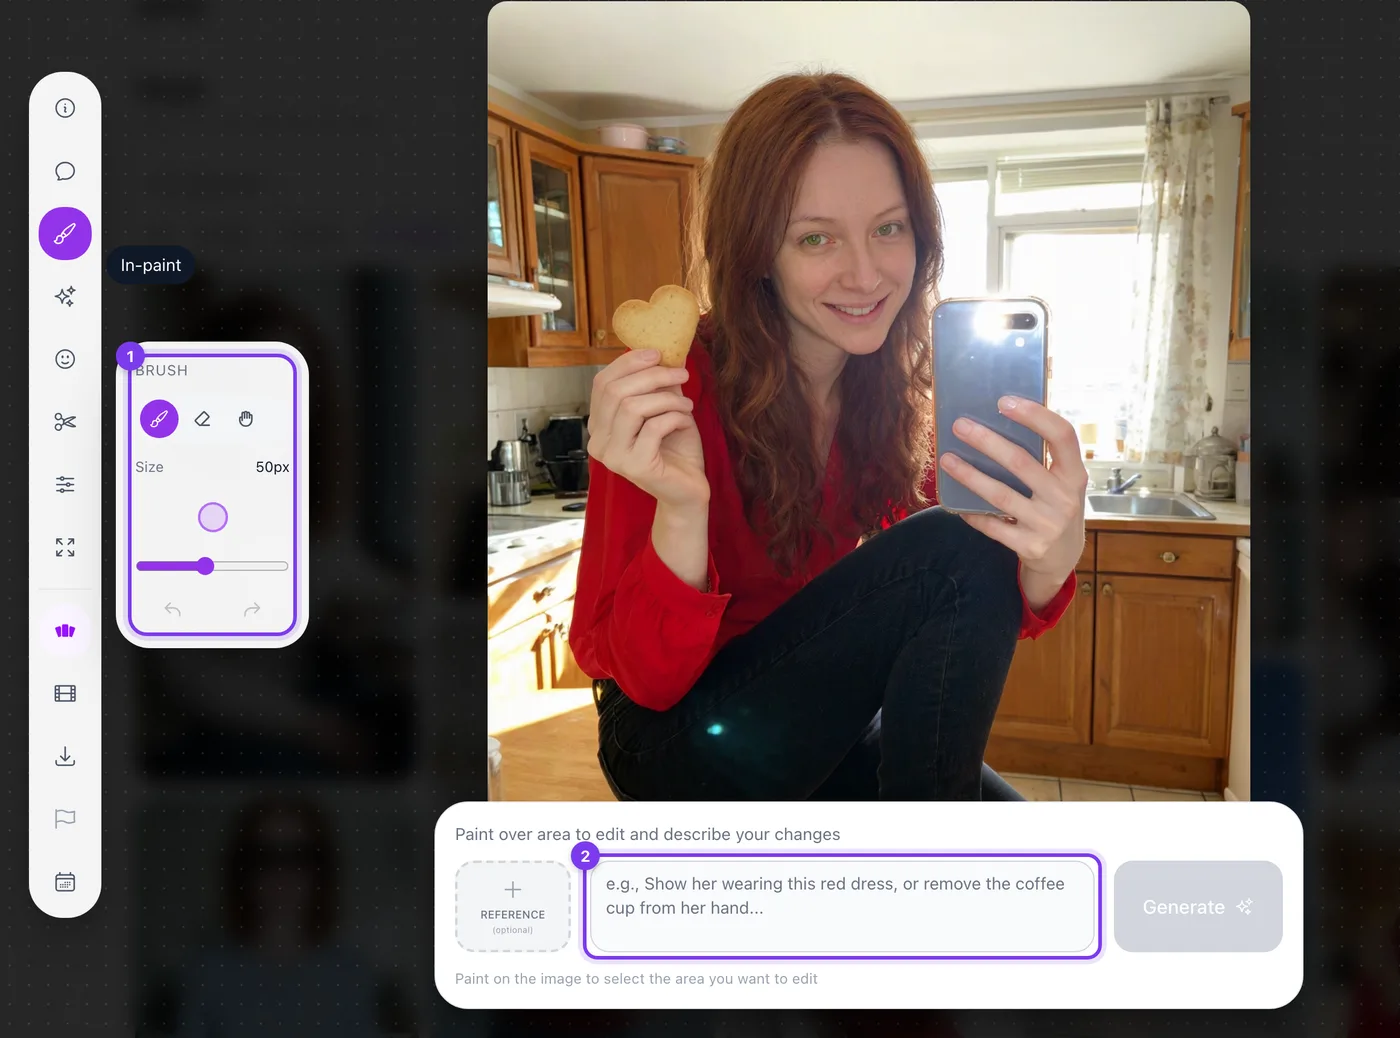
In the app. The brush and its size (1), and the box where you describe the change (2). - Paint over the area you want to change This is the most important step. See the next section for how to paint well.
- Describe what you want Tell Sozee what should appear in the painted area. Be specific, for example “a natural-looking right hand with five fingers resting on the table.”
- Generate and review Sozee regenerates only the painted area and keeps everything else as it was. Your edit arrives as a new version, and the original stays untouched. If it isn't right, try again.
Made in Sozee.
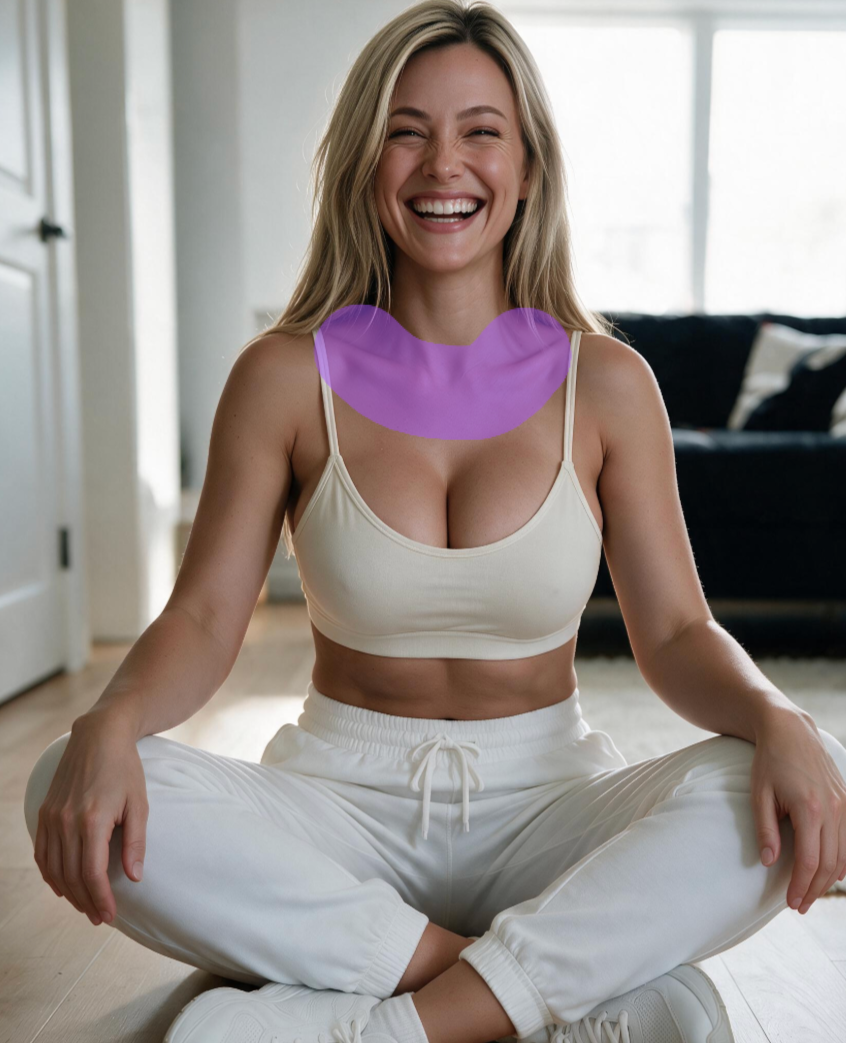
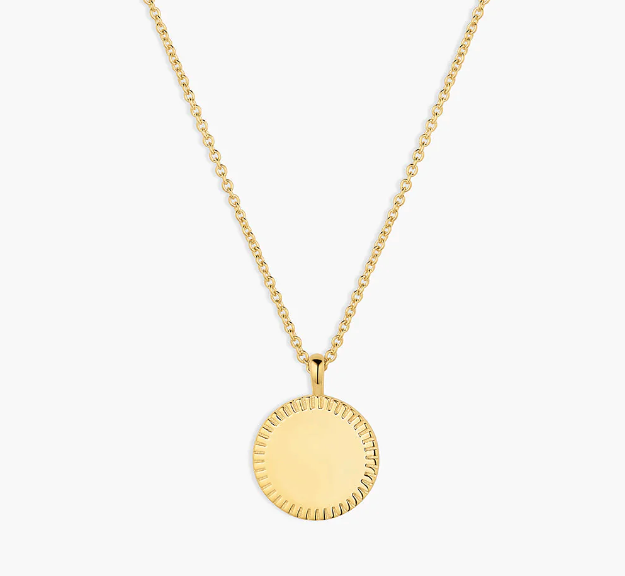
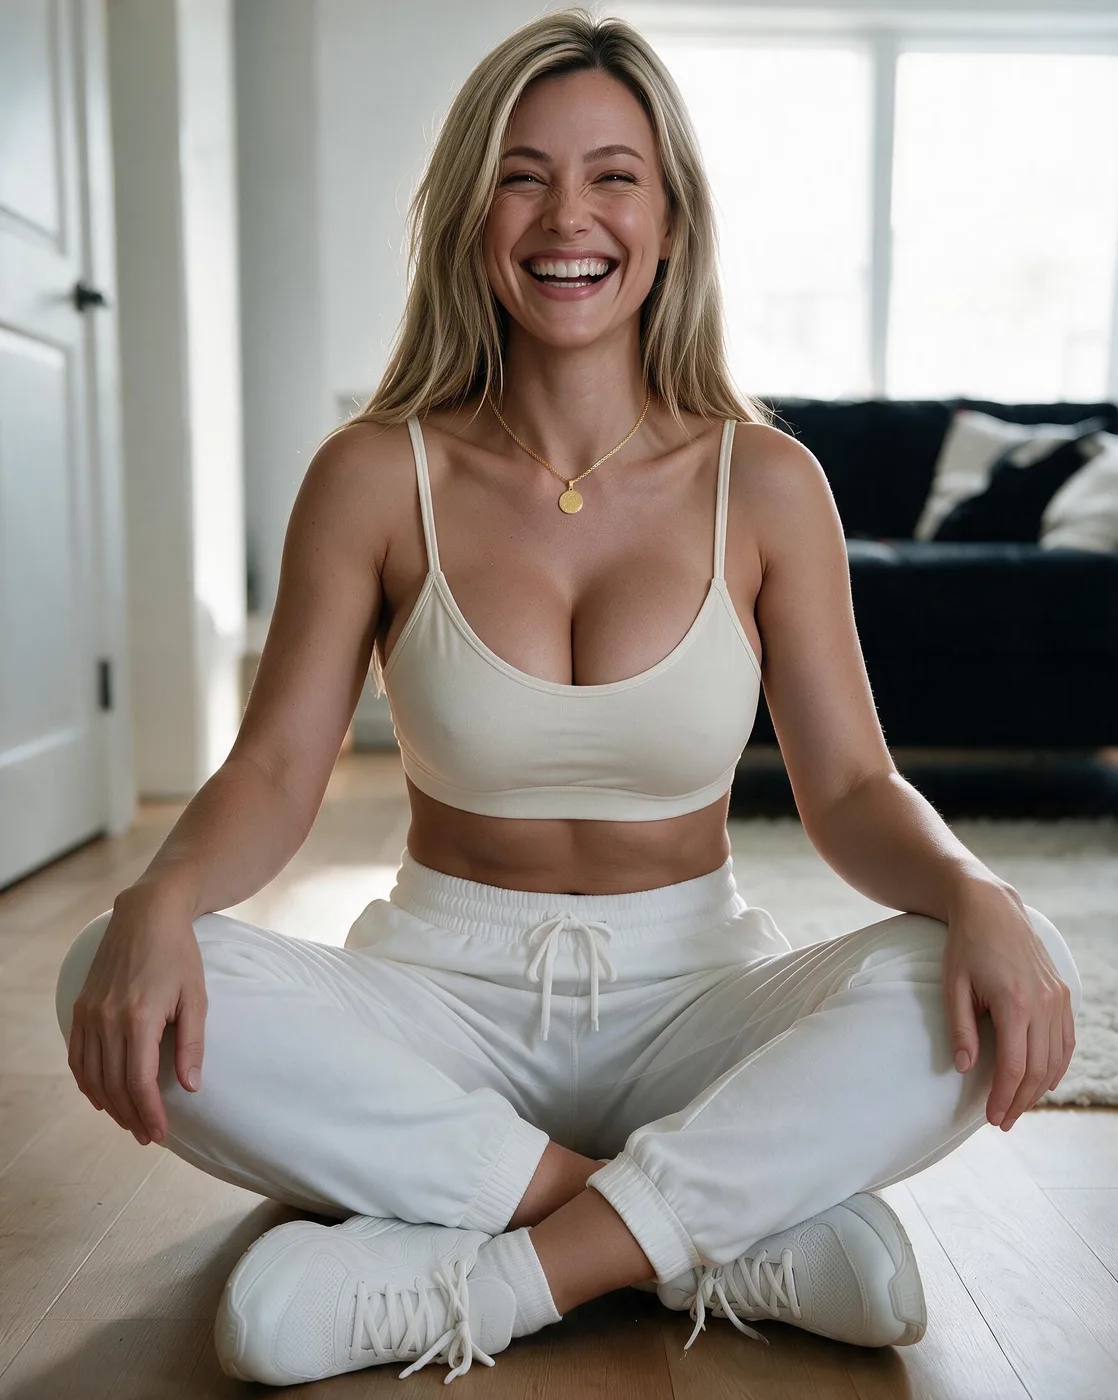
The golden rule: paint around the problem.
To blend new content in, Sozee needs to understand what surrounds the area it's regenerating. If you paint only the exact pixels that are wrong, it has little context and the result can look unnatural or out of place.
Take an example: you want to remove some buttons from a coat. You might paint a small circle around each button. The better approach is to paint the whole chest of the coat, all the buttons and the fabric between them. Sozee then has enough context to understand the coat's texture and folds, and the result is clean and seamless.
Don't do this
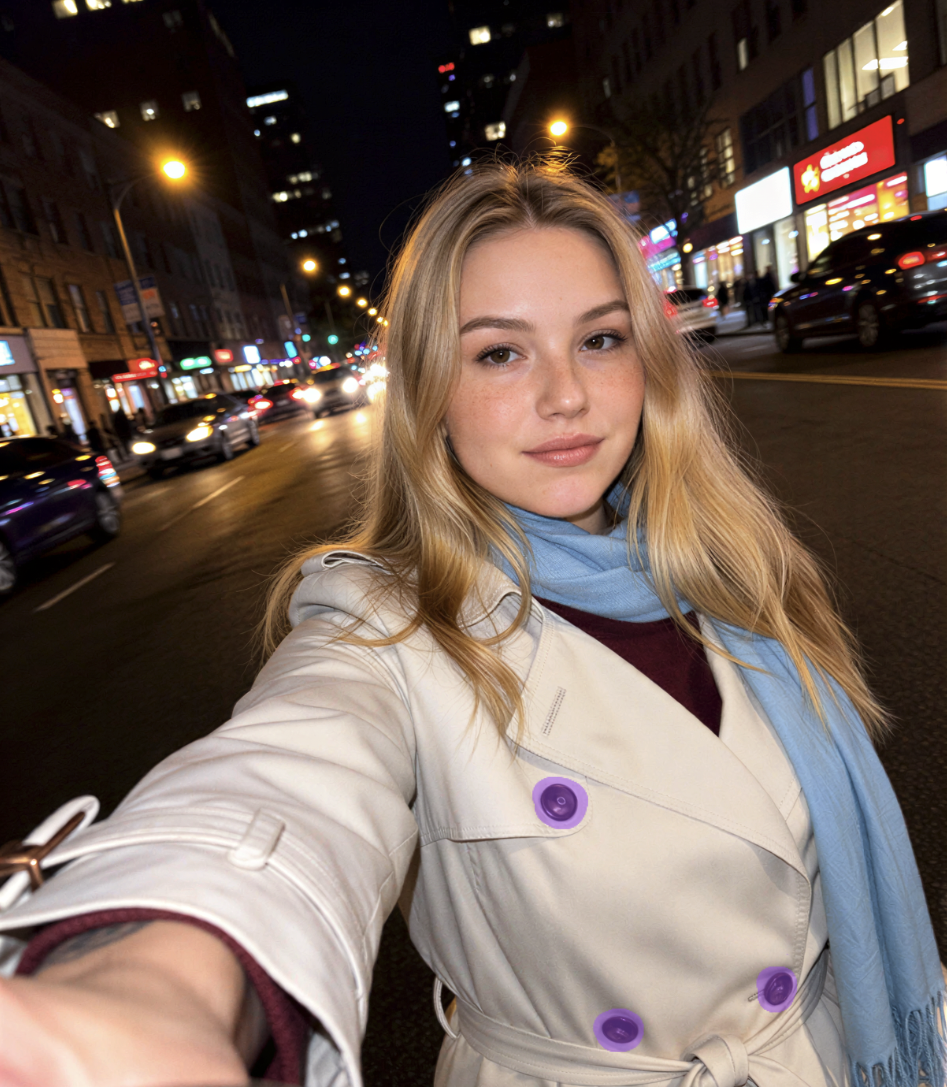
Tiny areas around each button give Sozee almost no context. It can't see the coat fabric, the button spacing or how they connect, so the result looks patchy and inconsistent.
Do this instead
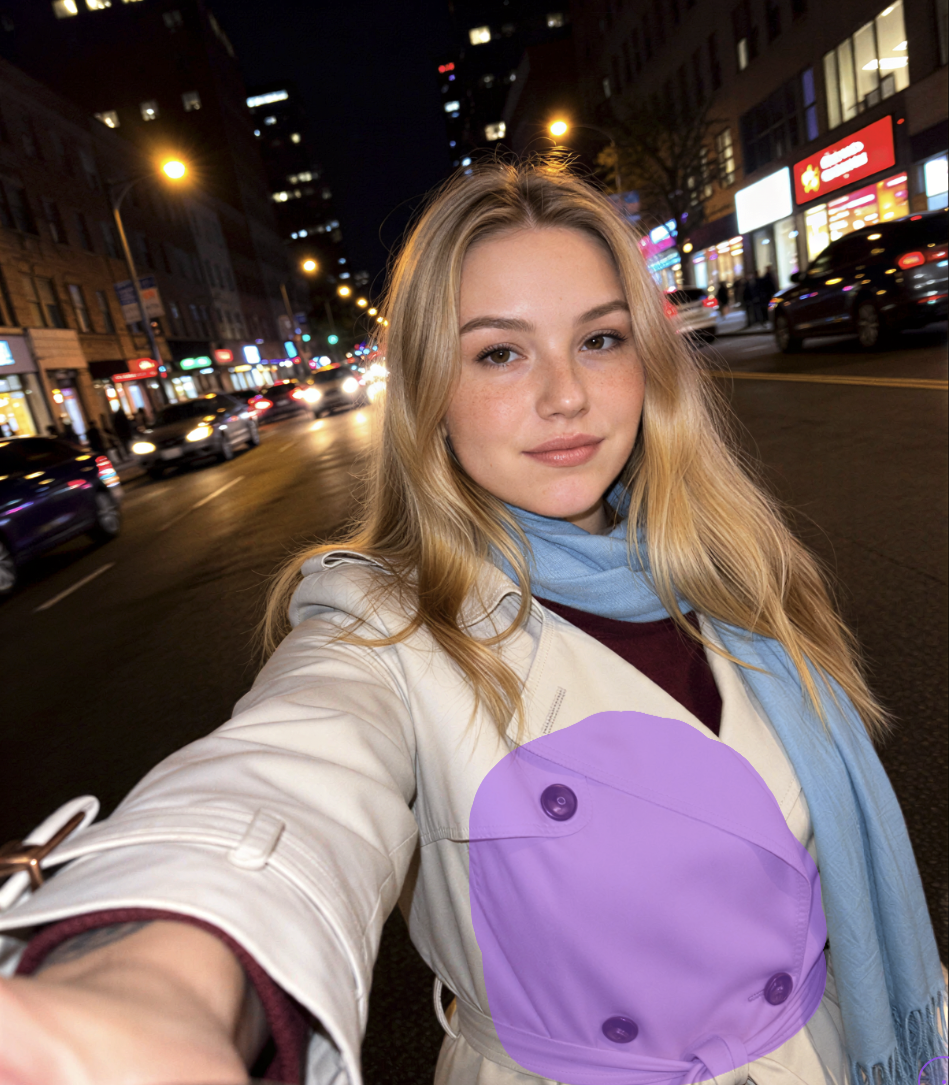
Painting the whole area, every button and the fabric around them, gives Sozee full context: the coat's texture, the button pattern and the folds. The new buttons blend in cleanly.
More examples
- Fixing an eye? Paint both eyes and the area between them. That keeps them symmetrical and the lighting consistent. Painting one eye risks a mismatch.
- Fixing a piece of jewellery? Paint the jewellery and the skin or clothing around it. Sozee needs to see what it rests against to make it look natural.
- Fixing a background artefact? Paint a wide area around it, with enough background for Sozee to understand the setting and blend it in.
Tips for the best results
The ideal workflow
- Generate your image Use your character with a prompt or a reference photo to make the base image.
- Review what you got Is 80% or more of this image what you want? If so, don't regenerate. Edit instead.
- Open In-paint and paint generously Select the area to fix. Paint around the problem, not just on it.
- Describe what you want Write a clear edit prompt for the painted area.
- Repeat if you need to Run more edits on other areas until the image is what you want.
Made in Sozee.
Next time an image is nearly there, don't throw it away. Open it and finish it. Open your Vault
Related guides
- Comment Edits: point at it, say what changes — Comment Edits lets you pin notes on an AI photo and send every change at once. How to place comments, add a reference picture and word them well.
- Edit moments: video editing inside Sozee — Edit video with AI in Sozee: mark a moment in a clip, describe the change, and keep the rest of the video as it was. Steps, tips and limits.
- How to write prompts in Sozee — How to write AI image prompts that work: copy-ready AI photo prompts, the structure of a strong prompt, and examples for selfies, outfits and settings.