
Key Takeaways
- Traditional inpainting either discards flawed frames or risks likeness drift. Sozee turns every imperfect image into a reusable, locked asset.
- The 7-step process — mask, reference, feather, prompt, crop, save, schedule — completes in minutes and scales across future shoots.
- Sozee’s native likeness lock, Vault asset reuse, and built-in Scheduler remove node graphs, manual exports, and third-party posting tools.
- Iterative 512 px crops plus 3–5 px feathering deliver clean, high-resolution results without edge halos or lighting mismatches.
- Start creating now — sign up for Sozee and run your first inpainting workflow today.
7-Step Creator Workflow for Locked Inpainted Sets
-
Step 1: Load and Mask With Sozee Photo Control
Begin by opening the image in Sozee’s Refine suite and selecting Inpainting. Use the brush tool to paint directly over the area that needs correction, such as a blown-out background, an inconsistent prop, or a lighting artifact on skin. Sozee reads the unmasked region as the consistency anchor, so the likeness lock stays active across the entire frame.
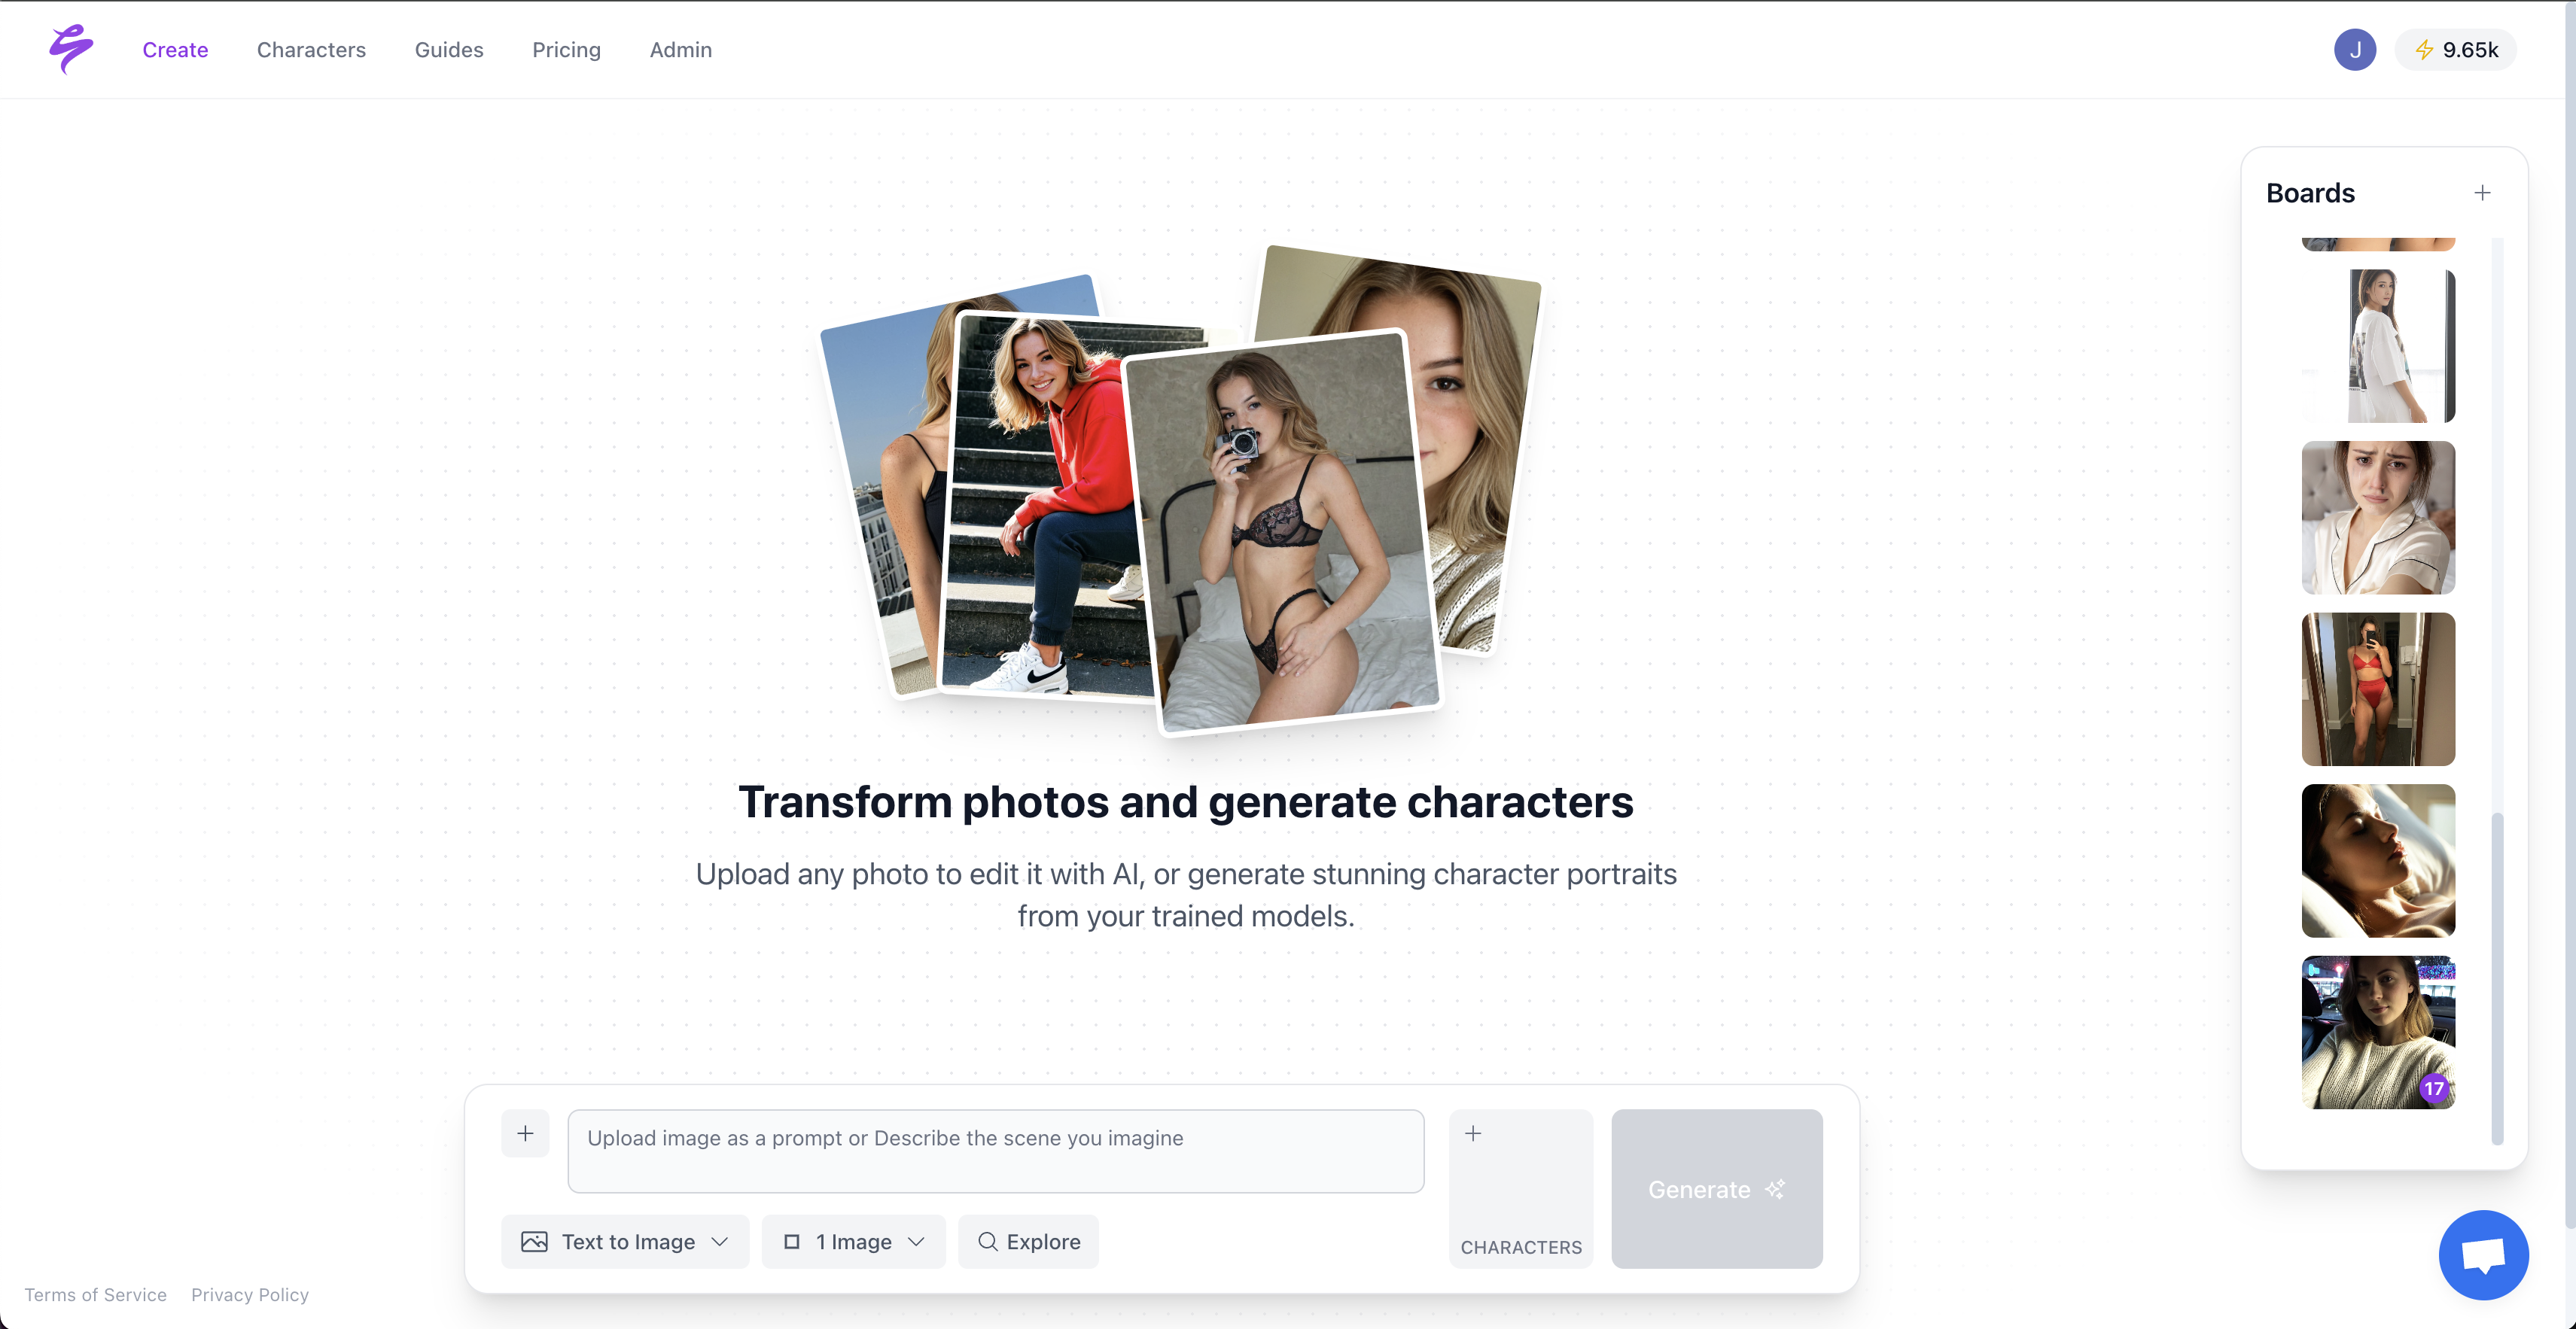
Sozee AI Platform In a ComfyUI inpainting workflow, the equivalent step uses a
Load Imagenode connected to aVAE Encode (Inpaint)node, with the mask drawn in the mask editor. The Sozee approach removes this node-graph overhead because the mask editor sits directly in the image view.Step 2: Attach References With @-Chips and Reference Images
Likeness drift is the primary failure mode in iterative inpainting, so lock references before any generation. Attach your character’s reference images using Sozee’s @-chip system. Type @ in the prompt bar and select the character, environment, or outfit asset from your library, then watch each selection appear as a color-coded chip that Photo Control mirrors in the control row.
For Flux inpainting pipelines, the comparable method conditions the inpaint model with an IP-Adapter reference image node. Sozee’s @-chip system delivers the same reference-locking behavior without manual node wiring, and the attached assets persist across the entire session instead of resetting for each generation.
Step 3: Set Brush and Feather for Clean Edges
Hard mask edges create the most common inpainting artifact: the edge halo. Set brush feathering to 3–5 pixels in Sozee’s brush settings panel before you paint the mask. This setting softens the transition zone between the edited region and the untouched frame, which lets the model blend lighting and texture naturally at the boundary.
In an SDXL inpainting workflow using ComfyUI, feathering runs through a
Feather MaskorBlur Masknode before connecting to the inpaint sampler. This approach also creates a natural transition at the boundary, although it requires extra node configuration.Step 4: Prompt the Change With Contextual Detail
With the mask properly feathered, move to a prompt that targets only the correction area. Write the inpainting prompt to describe only the masked region, not the full image. Specific language in the changed area reduces model hallucination in the unmasked zone.
For a background correction, use a focused description such as “soft natural window light, cream linen wall, shallow depth of field”. Avoid a full scene description that could destabilize the foreground and introduce unwanted changes.
Sozee’s likeness lock operates at the model level rather than through prompt weighting. The character’s face and body stay consistent without negative prompts or CFG manipulation. In Flux inpainting, achieving similar stability usually requires careful LoRA weighting and masked conditioning strength tuning, which adds setup time for every iteration.
Step 5: Run Iterative 512 px Crops for High-Resolution Quality
For high-resolution outputs, avoid inpainting the full 4K frame in a single pass. Crop the masked region to approximately 512 px, run the inpainting generation, review the result, then upscale back to the target resolution using Sozee’s 2K or 4K upscaler. This iterative crop approach reduces seam artifacts and gives precise control over localized corrections.
This process shows the refine AI images Sozee workflow in practice. You work in small, deliberate passes instead of relying on one large generation. Iterative crop passes handle complex corrections such as lighting mismatches or object replacement in busy scenes with far more reliability.
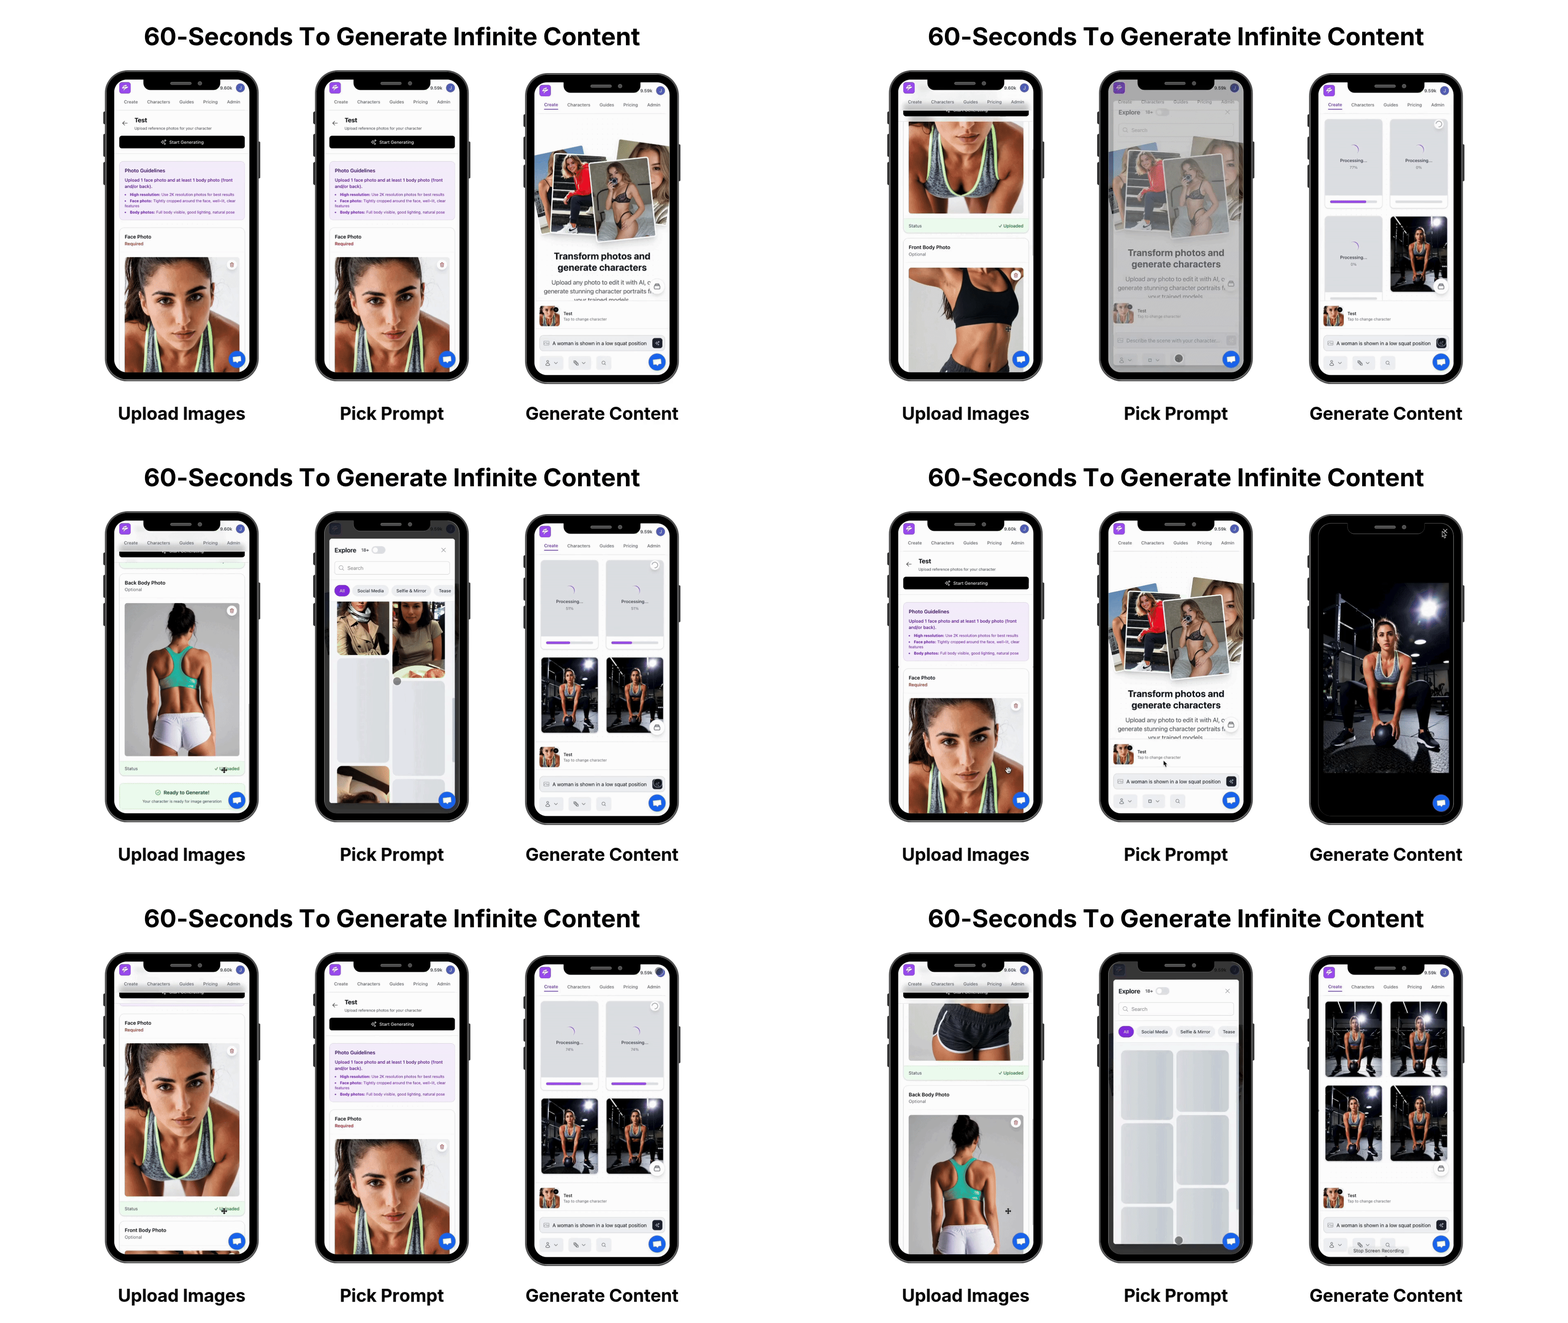
GIF of Sozee Platform Generating Images Based On Inputs From Creator on a White Background Step 6: Save to Vault as Reusable Environments, Outfits, and Objects
After the corrected frame meets your quality standard, save it directly to the Vault with a clear folder label. Any environment, outfit, or object refined during this session now exists as a reusable asset. The next shoot in the same setting pulls from the Vault instead of rebuilding from scratch, so each session adds value to the next.
This step creates the structural difference between a one-off inpainting fix and a scalable creator workflow. A bedroom environment built and refined once functions as a repeatable location. An outfit corrected for lighting consistency in this session remains available for every later set without new prompts.
Step 7: Schedule From Vault With Native Cross-Platform Posting
With the corrected 10-image set saved to the Vault, open the Scheduler and connect the target platforms per character. Link accounts for Instagram, TikTok, X, Facebook, Reddit, or Fanvue. Select the images, write platform-specific captions, set posting times, and queue the posts. The Vault-to-Scheduler loop closes the workflow without exporting to any external tool.
Sozee analytics separate performance for Sozee-posted content and manually posted content. This split makes the contribution of the inpainting workflow to engagement metrics visible and measurable over time.
Get started — build your first locked asset set in minutes.
Common Inpainting Pitfalls and How to Avoid Them
Common Pitfalls
- Edge halo: A hard mask boundary causes a visible outline. Fix this by setting feathering to 3–5 px in Sozee’s brush panel before painting.
- Lighting mismatch: The inpainted region looks out of place because the prompt ignores light direction. Include light direction and color temperature in the masked-region prompt.
- Mask bleed: The model edits outside the painted area. Reduce mask bleed by tightening the mask boundary and adjusting inpaint strength for subtle corrections.
Pro Tips
Three simple techniques will lift your inpainting results from acceptable to professional quality:
- Always feather 3–5 px before any mask, even for large area replacements, to prevent the edge halos described above.
- Run iterative 512 px crops on high-resolution frames instead of inpainting the full image in one pass, which reduces seam artifacts and improves control.
- Chain reference images across sessions by attaching the corrected frame as a reference for the next inpainting pass, which maintains progressive consistency across complex scenes.
Sozee vs ComfyUI vs Photoshop for Creator Workflows
Feature Sozee ComfyUI Photoshop Locked likeness across inpainted set Native, model-level lock, active by default Requires LoRA plus IP-Adapter node configuration per session Not applicable, no generative likeness model Reusable asset library Vault saves environments, outfits, and objects for reuse across all future shoots Manual workflow, assets must be re-imported and re-conditioned each session Layer comps and smart objects, no generative asset reuse Native scheduling to social platforms Built-in Scheduler for Instagram, TikTok, X, Facebook, Reddit, Fanvue No native scheduling, requires third-party export and posting tools No native scheduling Case Study: One Selfie to a 10-Image Scheduled Set
A micro-influencer managing her own Instagram and Fanvue accounts started with a single selfie that had an inconsistent background and a harsh shadow across the jawline. She followed the 7-step workflow, masked the background and shadow region, attached her character reference via @-chip, and ran three iterative 512 px crop passes. The correction completed quickly and preserved her likeness.
The corrected frame then moved into Sozee’s Photo Shoot feature, which generated a locked 10-image set with consistent identity, outfit, and environment across all frames. She saved the full set to the Vault and scheduled it across Instagram and Fanvue over a two-week window. Engagement on the scheduled set outperformed her previous manually shot content, and Sozee analytics confirmed that the lift came from the AI-generated posts.
Frequently Asked Questions
What is an AI inpainting creator workflow?
An AI inpainting creator workflow is a structured process for using AI image editing tools to correct, replace, or enhance specific regions of an image while preserving the rest of the frame. In a creator context, it extends beyond single-image fixes and produces locked, reusable asset sets that feed directly into a publishing pipeline.How does Sozee maintain likeness consistency during inpainting?
Sozee locks likeness at the model level using the character’s reference data, which stays active throughout the inpainting session. Edits to backgrounds, outfits, or objects do not destabilize the character’s face or body, unlike prompt-weighted approaches that require manual CFG and LoRA tuning for each generation.Can I use the Sozee inpainting workflow without technical AI knowledge?
Yes. Sozee’s inpainting tools live in a visual editor with a brush-based mask interface and a standard prompt bar. You do not need node graphs, model configuration, or a local GPU setup. The workflow in this article targets intermediate creators with basic masking familiarity rather than AI engineers.What is the difference between Sozee inpainting and ComfyUI inpainting?
ComfyUI inpainting offers deep technical control through a node-based graph editor, which is powerful but demands significant setup time and AI knowledge per session. Sozee inpainting focuses on creator production speed. Likeness lock is native, assets save to the Vault automatically, and the output flows directly into the Scheduler without extra export steps.How does the Vault-to-Scheduler loop work after inpainting?
After you correct and approve an inpainted image, Sozee saves it to the Vault alongside any environments, outfits, or objects refined during the session. From the Vault, you select images directly in the Scheduler, assign them to connected platform accounts per character, write captions per platform, and queue posts without leaving Sozee.Conclusion: Scale Content Without Reshooting
The Vault-to-Scheduler loop turns every inpainting session into a repeatable content engine. One corrected frame becomes ten scheduled posts, and each refined environment speeds up every future shoot. The workflow repeats without diminishing returns, so your library grows while your effort per post stays low.
Read Next