
Last updated: July 14, 2026
Key Takeaways
- Plastic skin, inconsistent lighting, and batch variation cause most monetization failures, not weak models.
- Realistic results need five steps: prompt construction, optical imperfections, lighting physics, likeness locking, and post-production.
- Camera language (focal length, aperture, ISO, film stock) and named lighting setups beat vague quality modifiers.
- Reusable assets or style blocks lock likeness and environment across 10-image sets and stop drift.
- Sozee helps you build photorealistic AI photo sets that pass the scroll test. Start creating now.
Step 1 – Give the Model Real Camera Language
AI image models default to safe portrait framing when prompts skip camera language. Specify focal length, aperture, shutter context, ISO, and white balance. This forces the model to simulate real optical physics instead of averaging its training data into a generic result.
Focal length choices simulate different photographic styles. Pair the focal length with a named lighting setup, such as Rembrandt lighting, golden hour backlight, or a single softbox from camera-left. Skip vague terms like “dramatic lighting.”
A structured prompt follows this sequence: Subject, Setting, Lighting, Camera/Lens, Film Stock, Details. Example: Portrait of a woman at a café table, morning sunlight from camera-left window, shot on Sony A7IV 85mm f/1.4, ISO 400, Kodak Portra 400 color palette, shallow depth of field, natural skin pores visible.
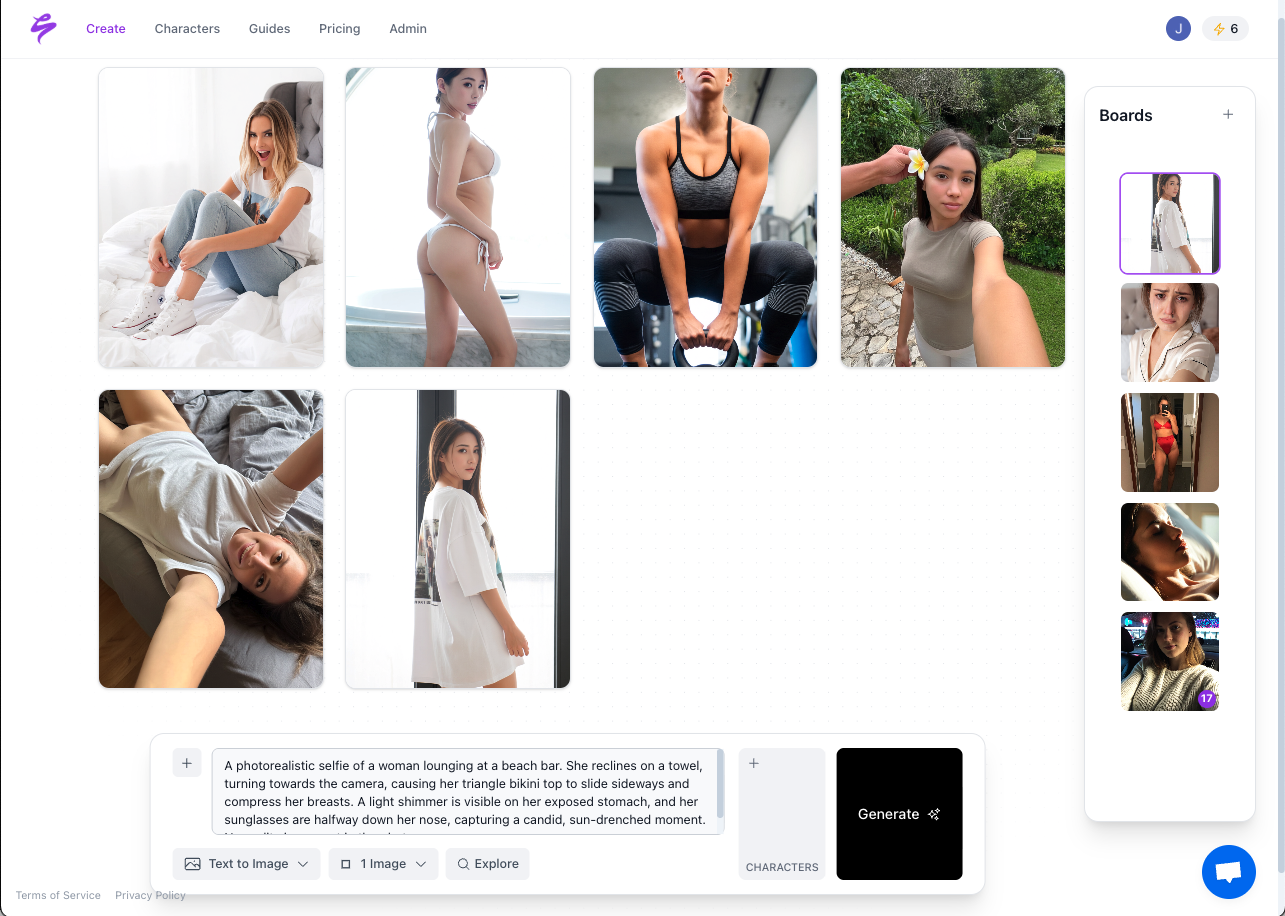
Model choice changes how you should write that prompt. Midjourney v7 produces more photographic results with the –style raw flag and –stylize set around 100 when camera and lens details are specified. Flux.1 and Stable Diffusion 3.5 respond better to long descriptive natural-language prompts that combine subject, setting, camera body, and lighting into one continuous description.
Common Pitfalls:
- Pairing telephoto focal lengths with extreme wide-angle perspective confuses the model’s rendering engine.
- Omitting shot size causes the model to default to a head-and-shoulders crop.
- Superlative modifiers like “8K ultra-realistic” carry no measurable impact. Concrete photographic details work instead.
Step 2 – Bake In the Flaws Real Cameras Produce
Real photographs carry built-in imperfections: slight motion blur, lens distortion at the edges, ISO grain, chromatic aberration around high-contrast areas. AI generators skip these by default. Adding them in the prompt or post-processing layer separates a camera-authentic image from a polished render.
In the prompt, add: slight chromatic aberration at high-contrast edges, subtle lens vignette, fine film grain, gentle motion blur on hands. In post-processing, apply film grain, lens vignetting, chromatic aberration at edges, and color grading matched to the specified film stock. Keep every adjustment subtle. Overdoing any single imperfection creates a different kind of artificiality.
Negative-prompt libraries remove the plastic baseline. A reliable set includes: no smooth skin, no plastic texture, no oversaturated colors, no CGI, no 3D render, no cartoon, no illustration, no airbrushing, no perfect symmetry. Pairing positive imperfection phrases with negative plastic-skin prompts produces the most convincing skin rendering in current models. Less common film stocks such as Kodak Gold 200, Ektachrome, or Ilford HP5 also produce more convincing results.
Common Pitfalls:
- Adding grain before upscaling backfires. Generative upscalers interpret grain as noise and remove it, so upscale first, then add grain.
- Coarse grain on a prompt specifying ISO 100 reads as inconsistent.
- Chromatic aberration applied uniformly across the frame looks wrong. Keep it at high-contrast edges only.
Step 3 – Fix Lighting Physics and Skin Texture
Lighting is the single biggest factor in photorealism. Prompts that skip lighting direction and quality default to flat, even illumination that reads as artificial. Every prompt needs a directional source with color temperature and diffusion quality, for example: overcast diffused daylight from a north-facing window, no fill, cool 5500K.
Skin texture failures are the most common reason AI portraits fail monetization. Effective prompts specify subsurface scattering, natural skin pores, detailed eyes, and realistic hair strands alongside the lighting setup. Naming subsurface scattering explicitly triggers more accurate skin rendering in diffusion models.
To fix highlight rollover and micro-contrast in post, move Clarity and Dehaze left in Lightroom to reduce excessive digital sharpness. Then apply split-toning with slightly warmer highlights and cooler shadows to restore depth. Use Dodge and Burn or the Texture slider selectively on skin, clothing, and architecture, not globally.
Photoshop’s Frequency Separation splits color and texture layers, letting you transfer microscopic skin texture onto AI-generated images and reduce the plastic skin effect without changing the underlying color.
Fixing skin and lighting solves realism for one frame. The same fixes must repeat identically across an entire set, which is where consistency problems start.
Common Pitfalls:
- Golden-hour lighting on every image has become an AI signature. Flat overcast daylight reads as more authentic in 2026.
- Global sharpening triggers AI-detection flags. Selective sharpening on eyes and key details avoids this.
- Inconsistent shadow direction between subject and background is the fastest visual tell for trained eyes.
Step 4 – Lock Likeness and Environment With Reusable Assets
Re-typing prompts from scratch for every image causes most batch inconsistency. Professionals build a fixed style block, a verbatim chunk of text defining lighting, color, and atmosphere, and copy it unchanged into every prompt while varying only the subject description. This holds consistency across 10 to 20 images. Beyond that, side-by-side comparison catches drift.
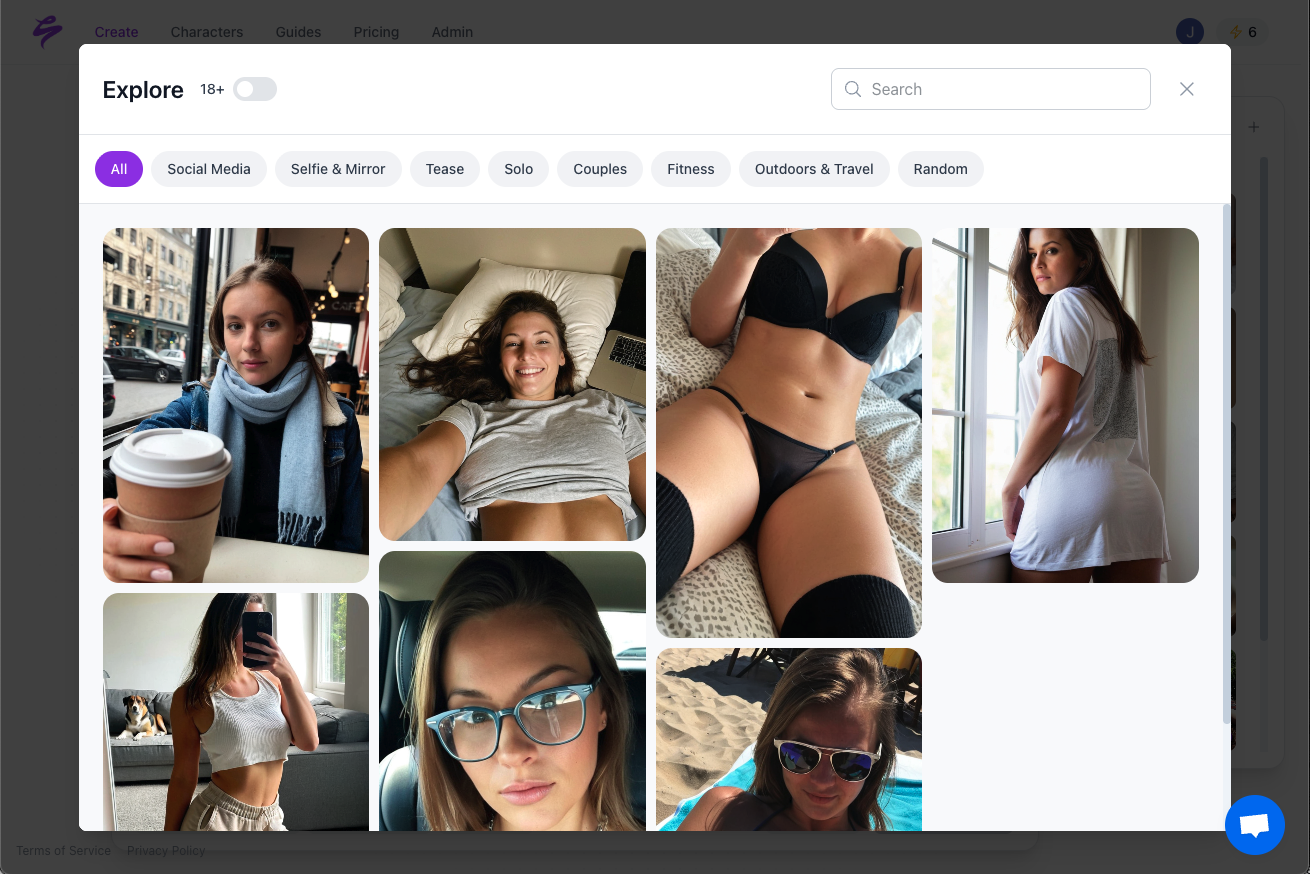
Sozee’s Photo Control replaces the style block with a structured director’s panel. Setting, Outfit, Shot style, Expression, and Object get set once and reused across every image in a set. Each element saves as a reusable asset: environments built from up to four reference photos, outfit libraries with one piece per category, and object libraries holding up to four props per set. The @ operator attaches any saved element inline without leaving the prompt bar. Photo Shoot then takes one image and builds a locked set of up to ten around it, holding identity, outfit, and environment constant while angle, pose, and expression vary.
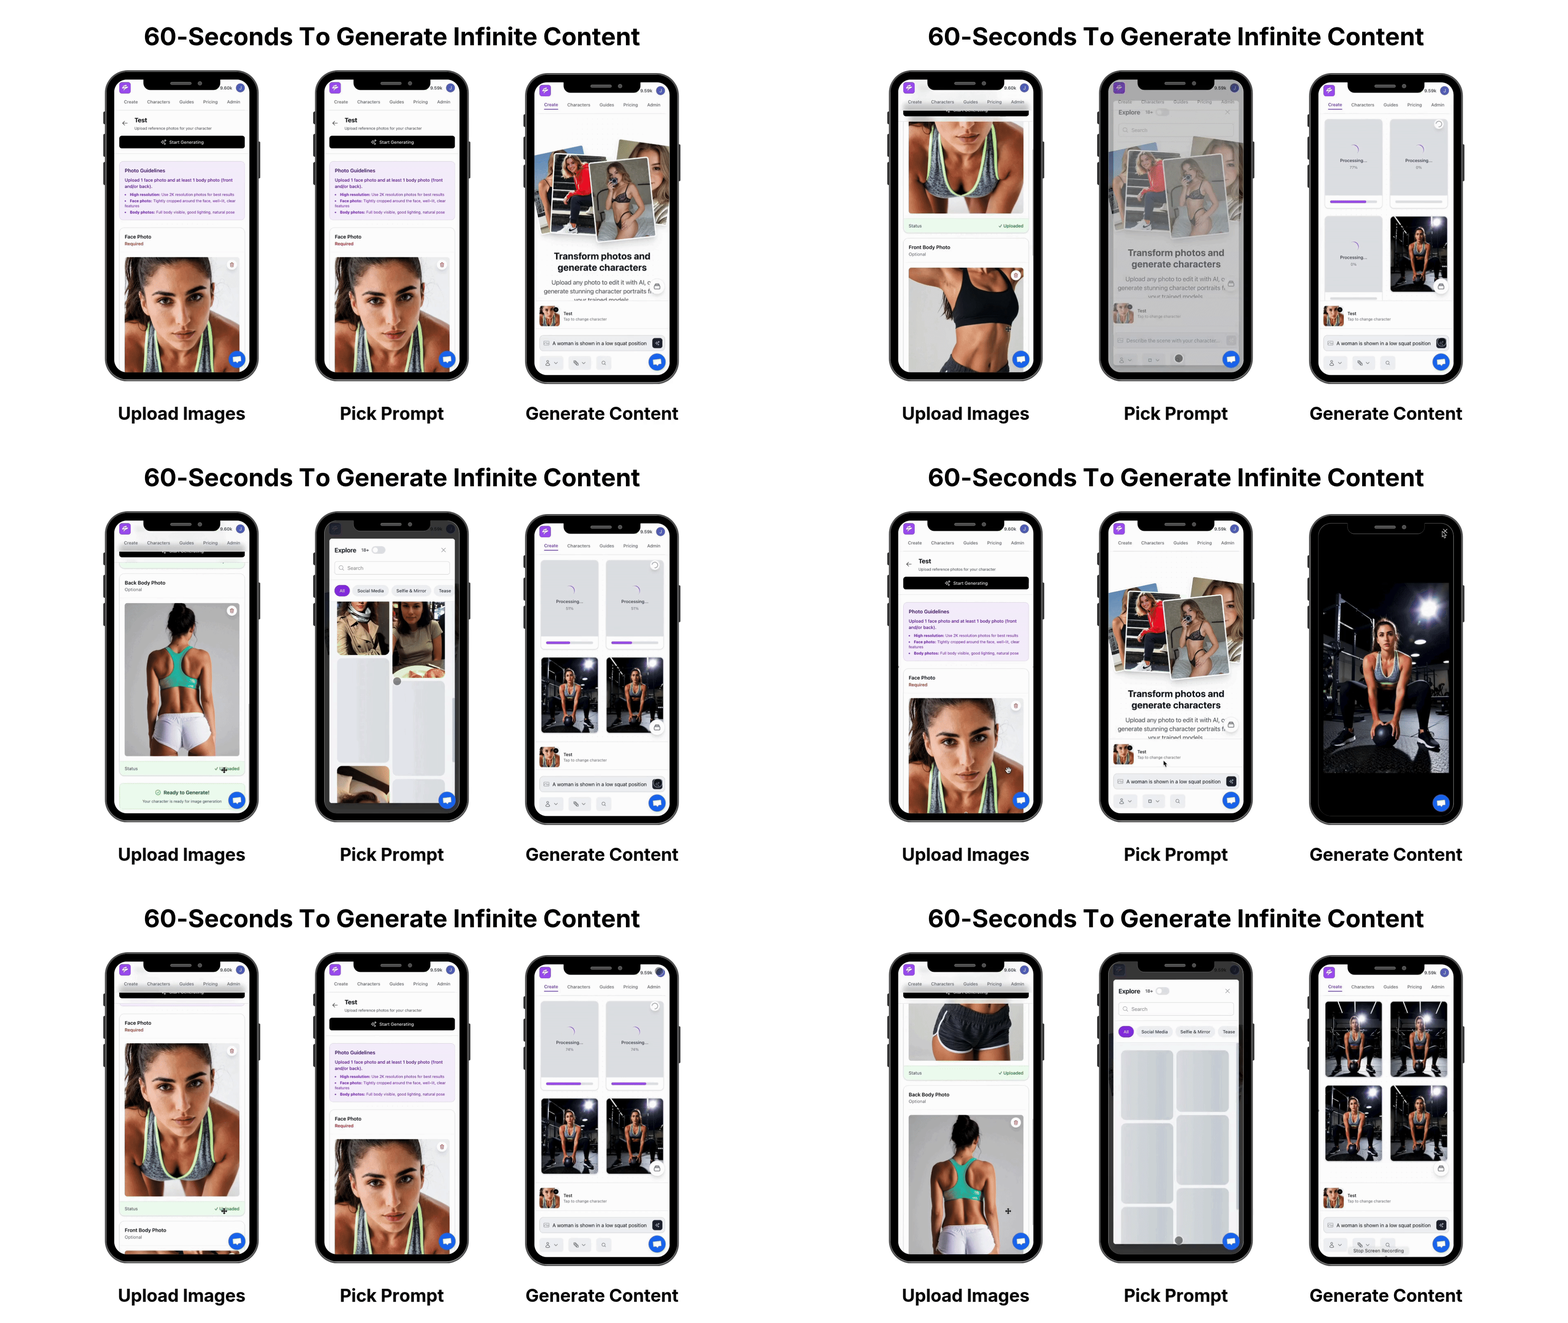
A reusable prompt template for a 10-image set includes these slots:
- Character reference
- Setting: location description or @saved-environment
- Outfit: @saved-outfit
- Shot style: focal length, aperture, camera body
- Lighting: direction, color temperature, diffusion quality
- Expression: specific mid-action descriptor
- Object: @saved-prop
- Film stock
- Negative: no plastic skin, no smooth texture, no CGI, no airbrushing, no perfect symmetry
Common Pitfalls:
- Seed locking alone achieves limited consistency and falls short for production brand assets.
- Describing character features in text only causes face drift on every generation without a locked reference or reusable identity layer.
- Varying lighting descriptors between images in the same set produces visible inconsistency at grid review, even with small color temperature changes.
Step 5 – Run a Post-Production Checklist Before Export
Post-production is not optional for publish-ready AI photos. Creative upscaling at 2x to 4x with Creativity settings of 5-7 and Detail settings of 6-8 adds skin pores, fabric weave, hair strands, and surface texture that base outputs omit. Upscale before adding grain.
Apply this checklist in order:
- Exposure correction: Recover blown highlights and lift crushed shadows to match the prompt’s lighting physics.
- Local contrast: Use Texture and Clarity sliders selectively on skin, fabric, and architecture, not globally.
- Dodge and Burn: Emphasize natural light fall-off on skin and clothing to reinforce the directional light source.
- Grain overlay: Set grain Size to minimum in Lightroom and adjust Coarseness and Intensity so noise shows only when zoomed in. Match grain coarseness to the ISO value in the prompt.
- Vignette: Apply gentle vignetting to darken corners and mimic real lens behavior, drawing attention to the subject.
These five checklist steps only work if you apply them with judgment rather than by rote. Three pitfalls trip up most workflows here.
- Identical post-processing parameters on every image ignore differences in lighting. A low-key image and a high-key image need different grain intensity and contrast treatment.
- Skipping artifact correction before grain hides nothing. Fused fingers, repeating texture patterns, and halo effects need Clone Stamp or Healing Brush fixes first.
- Over-sharpening the full image after upscaling reintroduces the digital look the whole workflow is designed to eliminate.
Why Realism Fails: Hands, Teeth, and Impossible Backgrounds
The five most frequent failures share one cause: skipping a layer of the workflow and expecting another layer to compensate. Plastic skin survives correct grain if lighting physics were never fixed in Step 3. Batch inconsistency persists through perfect post-production if likeness was never locked in Step 4. Realism needs precise prompt engineering, smart model selection, and intentional post-processing together. Skip any one and the output reads as a polished render rather than a genuine photograph.
Hands and teeth remain the most persistent anatomical failures in 2026. Hands are AI’s weak point: extra fingers, merged joints, and impossible angles show up constantly. Prompt subjects mid-gesture rather than in static poses, and use inpainting to correct remaining errors before export. Fix teeth by specifying individual teeth with natural color variation, slight imperfections in the prompt, and mask the mouth area for targeted inpainting if the base generation produces a uniform white block.
Background geometry failures, like impossible staircases, windows that open into nothing, or repeating crowd patterns, cannot be fixed in post-production. They require regeneration with stronger environmental anchors in the Setting dimension of the prompt.
Turning Five Manual Steps Into One Repeatable Workflow
Fixing these failures by hand takes real time across a full set. Sozee builds the fix into the workflow itself. Photo Control bakes all five realism dimensions, Setting, Outfit, Shot style, Expression, and Object, into a single director’s panel set once and reused across every image in a set. Likeness stays locked from the first frame to the last without re-typing a character description or re-rolling a seed. Photo Shoot builds a coherent 10-image set from a single image, holding identity, outfit, and environment constant while varying angle, pose, and expression. For agencies scaling across a roster, Live Mode renders the character onto a camera feed in real time, and the Agent interviews a half-formed idea into a finished shoot setup, writing directly into the prompt bar and Photo Control panel so the shoot is one tap from Generate.

Scale your next photo set without re-typing a single prompt with Sozee.
Frequently Asked Questions
What is the fastest way to make an AI portrait look shot on a real camera?
Add a real camera body, focal length, aperture, and film stock to the prompt, along with one named lighting setup instead of a vague quality tag. Layer in two visible imperfections, such as slight motion blur on a hand or chromatic aberration at a window edge. Finish with a short post-production pass: exposure correction, selective sharpening, grain matched to the prompt’s ISO, and a light vignette. Each layer catches what the others miss.
Which film stocks and lighting choices avoid the obvious AI look?
Skip golden-hour lighting. It has become an AI signature in 2026. Overcast daylight or a single named source like Rembrandt lighting reads as more authentic. Use less common film stocks such as Kodak Gold 200 or Ektachrome instead of overused references like Portra. In post, add grain after upscaling, apply split-toning for depth, and use Frequency Separation in Photoshop to transfer real skin texture onto the face.
How much does likeness drift across a 10-image set, and what actually prevents it?
Seed locking alone holds roughly 60% consistency, which falls short for brand or monetization work. A trained LoRA on 15 to 30 varied reference images, an IP-Adapter conditioned on face embeddings, or a platform-level lock like Sozee’s Photo Control keeps the same face, body, and environment across a set without re-prompting. Pair that with a fixed style block for lighting and color, then run a grid review every 10 to 15 images to catch drift early.
Why do brand reviewers reject AI photos that pass casual scrolling?
Brand partners review at full resolution and across the whole set, not at thumbnail size. As covered earlier, plastic skin, lighting mismatches, and batch drift are the core failure points. At full resolution, reviewers zoom into pore texture, check shadow direction against the background, and compare faces frame to frame for proportion shifts. One strong hero image does not save a set where the other nine show a different face or a different room.
Build your first brand-ready photo set with Sozee today.