
Last updated: July 8, 2026
Featured Settings: Juggernaut XL v9 + Lightning Quick Reference
Copy these parameters directly into ComfyUI, Automatic1111, or Reforge before starting any portrait session. Juggernaut XL v9 recommends 832×1216 resolution, DPM++ 2M Karras sampler, 30–40 steps, and CFG 3–7. For Lightning mode, use DPM++ SDE sampler, 4–6 steps, and CFG 1–2. For HiRes fix, use the 4xNMKD-Siax_200k upscaler, 15 steps, 0.3 denoise, and 1.5× upscale. VAE is baked in, so no external selection is required.
Key Takeaways for Juggernaut Portrait Workflows
- Juggernaut XL v9 delivers photorealistic portraits using 832×1216 resolution, DPM++ 2M Karras sampler, 30–40 steps, and CFG 3–7.
- Structured tag-style prompts with consistency anchors and targeted negative prompts keep skin texture, lighting, and faces stable across a batch.
- Common issues like waxy skin, deformed hands, and eye asymmetry respond well to latent-step tweaks, inpainting, and lower CFG values.
- Manual Juggernaut XL workflows struggle at scale because they cannot guarantee character consistency or handle scheduling and analytics in one place.
- Sozee handles all these parameters automatically, so you can create photorealistic portraits without the technical overhead.
Step 1: Baseline Juggernaut XL v9 Settings Explained
Juggernaut XL v9, co-developed by KandooAI and RunDiffusion and integrating RunDiffusion Photo v2, delivers photorealism with enhanced skin texture, micro-contrast, and natural lighting. The parameters in the featured block form your baseline. The breakdown below explains when to adjust each setting.
- Resolution: 832×1216 for portraits keeps faces sharp while staying VRAM-friendly.
- Sampler: DPM++ 2M Karras for standard runs, and DPM++ SDE for Lightning-optimized runs when speed matters more than micro-detail.
- Steps: 30–40 for standard and 4–6 for Lightning, with higher counts improving detail but increasing render time.
- CFG Scale: 3–7, with lower values (3–5) producing more realistic results. Push higher only when prompts feel ignored.
- Scheduler: Karras, already included when you select the DPM++ 2M Karras sampler.
- VAE: Baked in, so no external VAE is required.
- HiRes Fix: 4xNMKD-Siax_200k upscaler, 15 steps, 0.3 denoise strength, 1.5× upscale factor for clean, detailed enlargements.
- VRAM: 8 GB minimum and 12 GB recommended for ControlNet extensions.
Step 2: Three Ready-to-Use Portrait Prompt Templates
Juggernaut XL responds best to structured tag-style prompts ordered as subject, details, setting, lighting, style, and quality boosters. Front-load the most important descriptor, because it carries more weight in diffusion models. Each template ends with a 4–5 token consistency anchor that stabilizes skin, lighting, and facial structure across a batch.
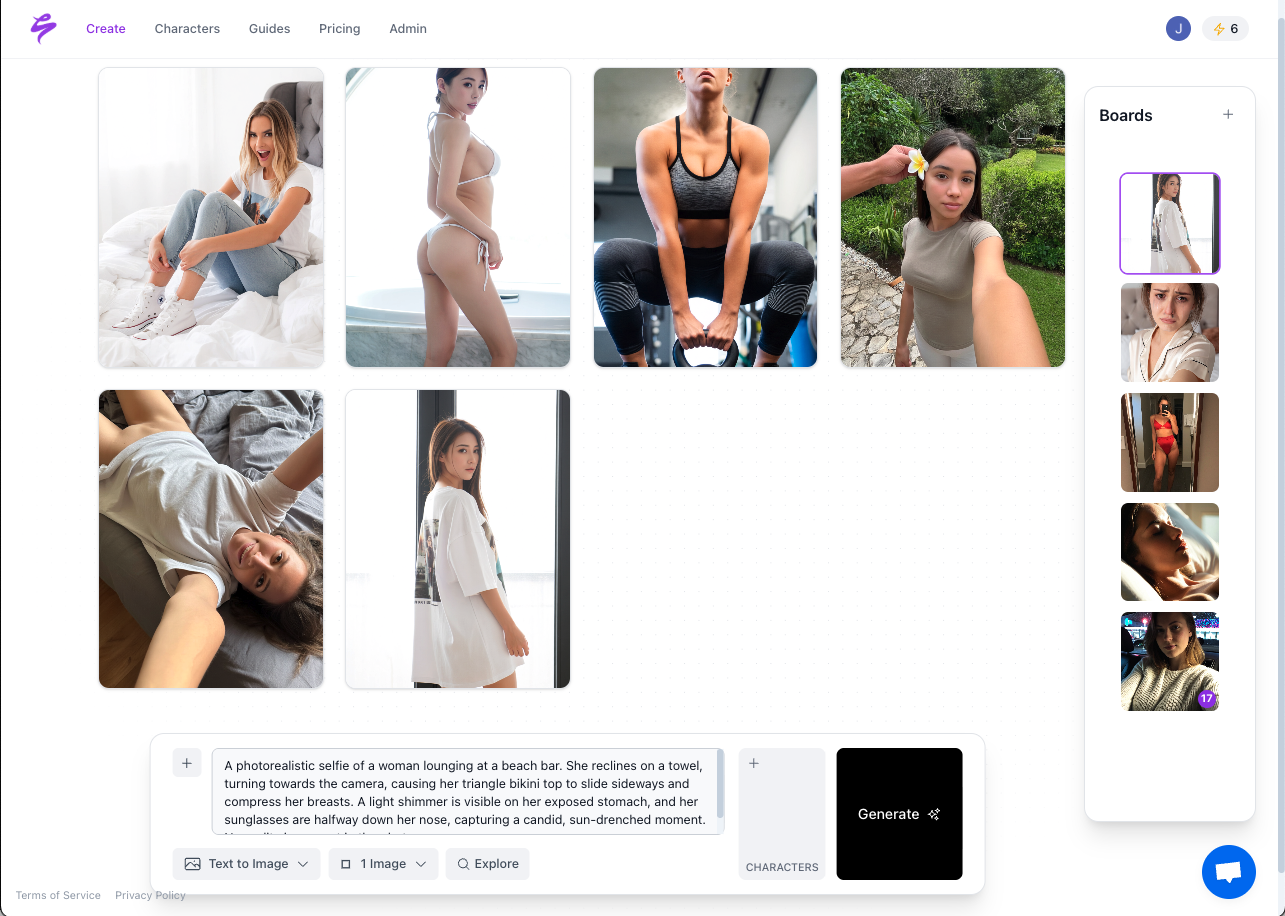
- Natural-Light Editorial: photorealistic skin texture, still mid shot photo of a woman, natural hairstyle, minimal makeup, soft window light, shallow depth of field, neutral background — cinematic lighting, fujifilm x-t4, raw photo, realistic skin texture, soft daylight
- Cinematic Street Portrait: hyperdetailed photography, full body photo of a man in a black leather jacket, rain-soaked Tokyo alley, neon reflections, cinematic lighting, professional photography, sharp focus, 8k — cinematic lighting, canon eos r5, 85mm f/1.4, raw photo, skin details
- Studio Fashion Close-Up: skin details, editorial portrait of a woman in a charcoal coat, studio photograph, soft key light, subtle rim light, 85mm lens, shallow depth of field, natural skin texture, masterpiece, best quality, photorealistic — cinematic lighting, fujifilm x-t4, raw photo, realistic skin texture, soft daylight
Step 3: Negative Prompts and Smart Layering
Start your first generation with no negative prompt. When a specific artifact appears, add only the term that names it. Use this practical layering sequence.
- Generation 1 with no negative prompt. Generate and evaluate the output.
- If anatomy fails, add deformed hands, extra fingers, fused fingers, missing fingers, malformed limbs, extra limbs, asymmetric eyes, bad anatomy.
- If skin looks artificial, add plastic skin, oversaturated, airbrushed, waxy, over-smoothed skin.
- If output quality is low, add worst quality, low quality, blurry, jpeg artifacts, watermark, text, signature.
- If style bleeds in, add cartoon, anime, 3d render, cgi, painting, semi-realistic.
Step 4: Troubleshooting Checklist for Common Portrait Issues
Follow this checklist in order so you can isolate the cause of each problem. Change only one variable at a time while keeping the seed fixed to compare results directly.
- Plastic or waxy skin: The primary cause is insufficient latent steps, not resolution. In ComfyUI, use the advanced KSampler with Zimage turbo latent repaint and adjust Start Step and End Step values to inject real skin texture. Increase End Step from 8 to 12–13 if skin remains too smooth, and reduce by 1–2 if features distort.
- Hands with extra or fused fingers: Use inpainting on the hand region only after the rest of the image is 90% correct. Add deformed hands, extra fingers, fused fingers, bad anatomy to the negative prompt. Avoid inpainting for major structural rebuilds, and regenerate instead if the image is more than 50% wrong.
- Eye artifacts or asymmetry: Add asymmetric eyes, deformed eyes, crossed eyes to the negative prompt and lower CFG by 1 point. Add deformed face, ugly face, asymmetric eyes as targeted negative terms for facial issues.
- Over-saturation: CFG values above 10 often cause over-saturation on SDXL models. Drop CFG to 4–5 and add oversaturated, overexposed to the negative prompt.
- Artifacts in later steps: Reducing total steps to 25–30 instead of 50+ often improves results when artifacts appear in later steps with Juggernaut XL.
After you stabilize your results with this checklist, you can choose the workflow variant that fits your production goals. Standard runs favor maximum detail and control, while Lightning runs favor speed and batch exploration.
Lightning vs. Standard Workflow Comparison for Juggernaut XL
The table below shows how Lightning mode differs from the standard parameters detailed in Step 1. It highlights the trade-offs between speed and final image quality so you can match the mode to each task.
| Parameter | Standard v9 | Lightning 4S | Best Use Case |
|---|---|---|---|
| Sampler | DPM++ 2M Karras | DPM++ SDE | Standard for final renders, Lightning for rapid iteration |
| Steps | 30–40 | 4–6 | Lightning for batch proofing, Standard for sellable output |
| CFG Scale | 3–7 | 1–2 | Standard for detail control, Lightning with very low CFG for stability |
| HiRes Denoise | 0.3 at 15 steps | 0.35 at 2 steps | Standard for maximum detail, Lightning for speed-first pipelines |
When Juggernaut XL Stops Scaling for Daily Content
Juggernaut XL produces exceptional single images, but the workflow breaks down at volume. Daily posting requires consistent character identity across dozens of images, which manual seed management and prompt anchoring cannot guarantee at scale. Scheduling, SFW-to-NSFW funnel exports, and analytics live in separate tools. Each generation session demands technical oversight, and Juggernaut XL still struggles with faces at a distance and legible text, limitations inherited from the SDXL architecture.
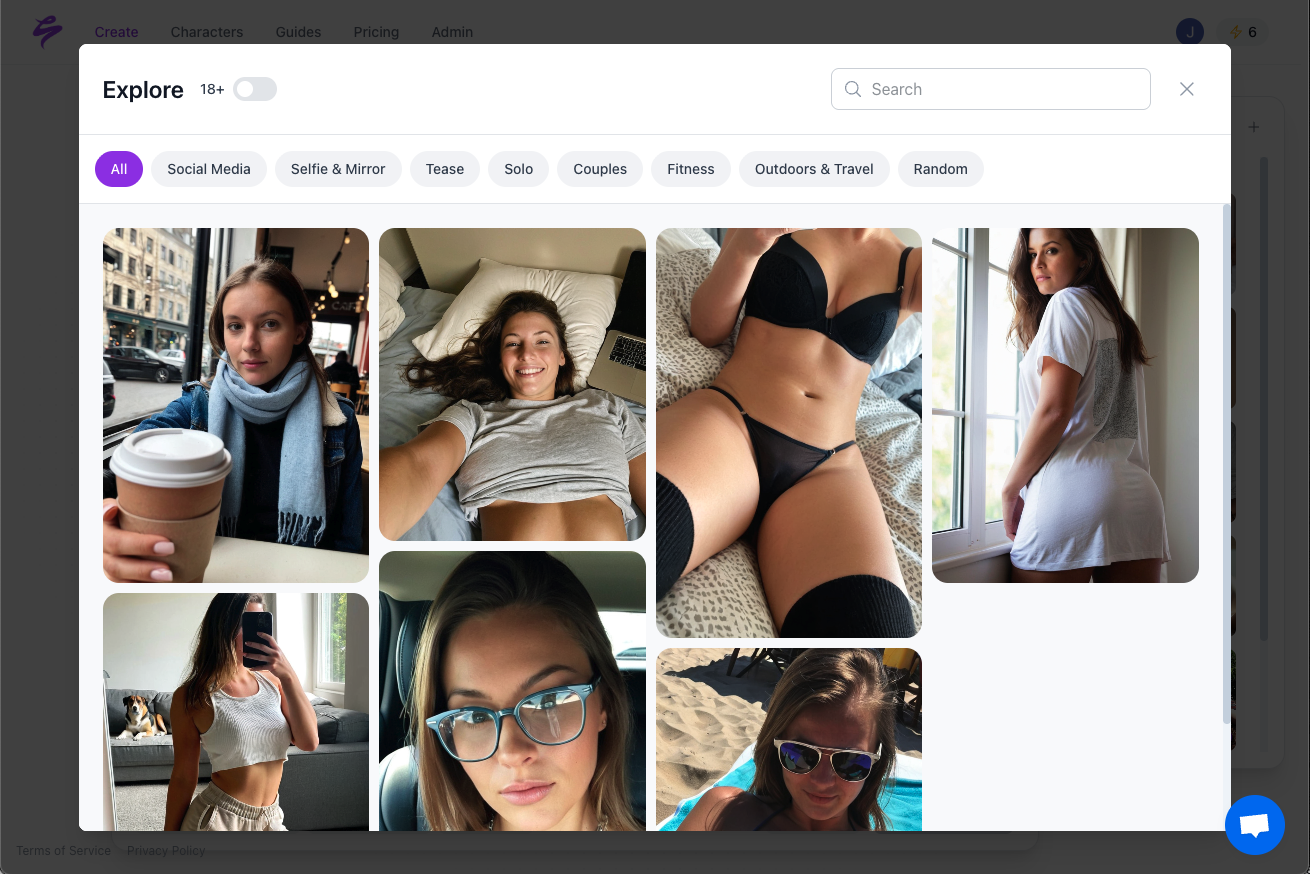
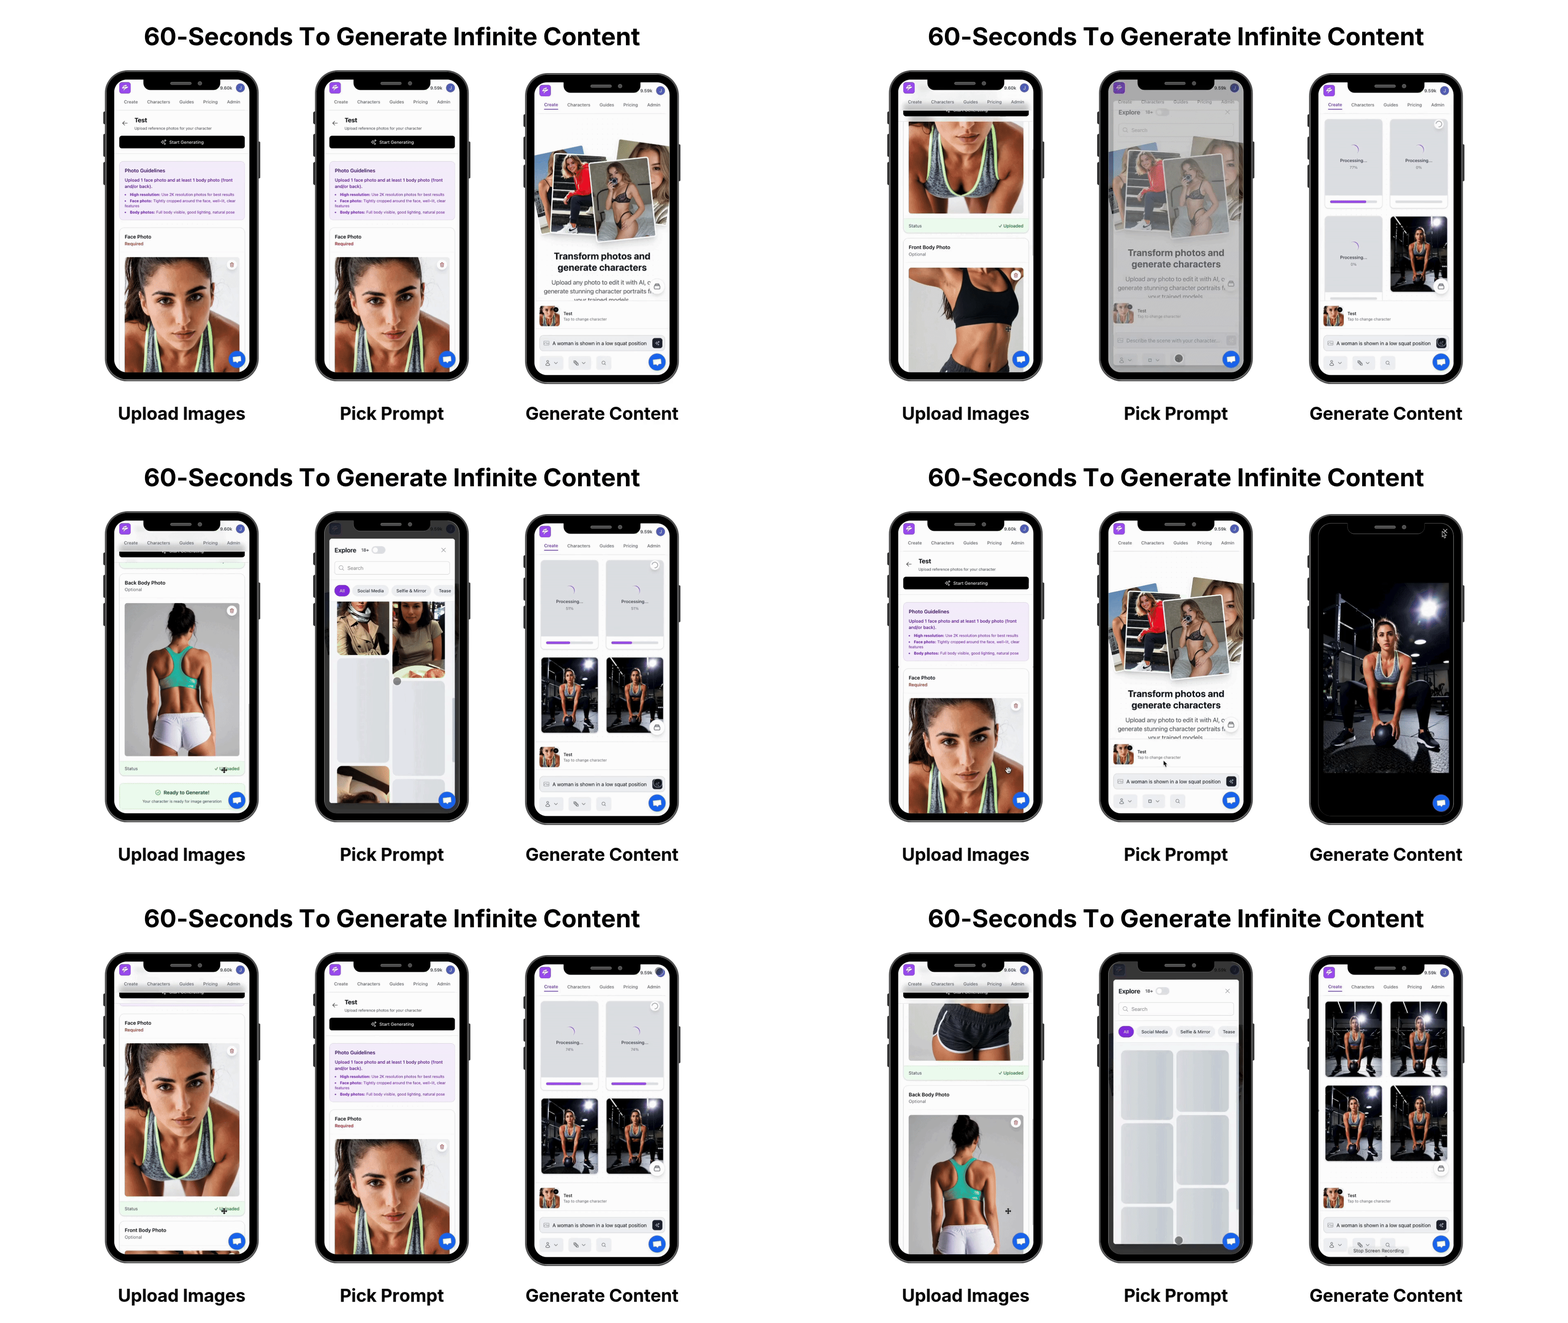
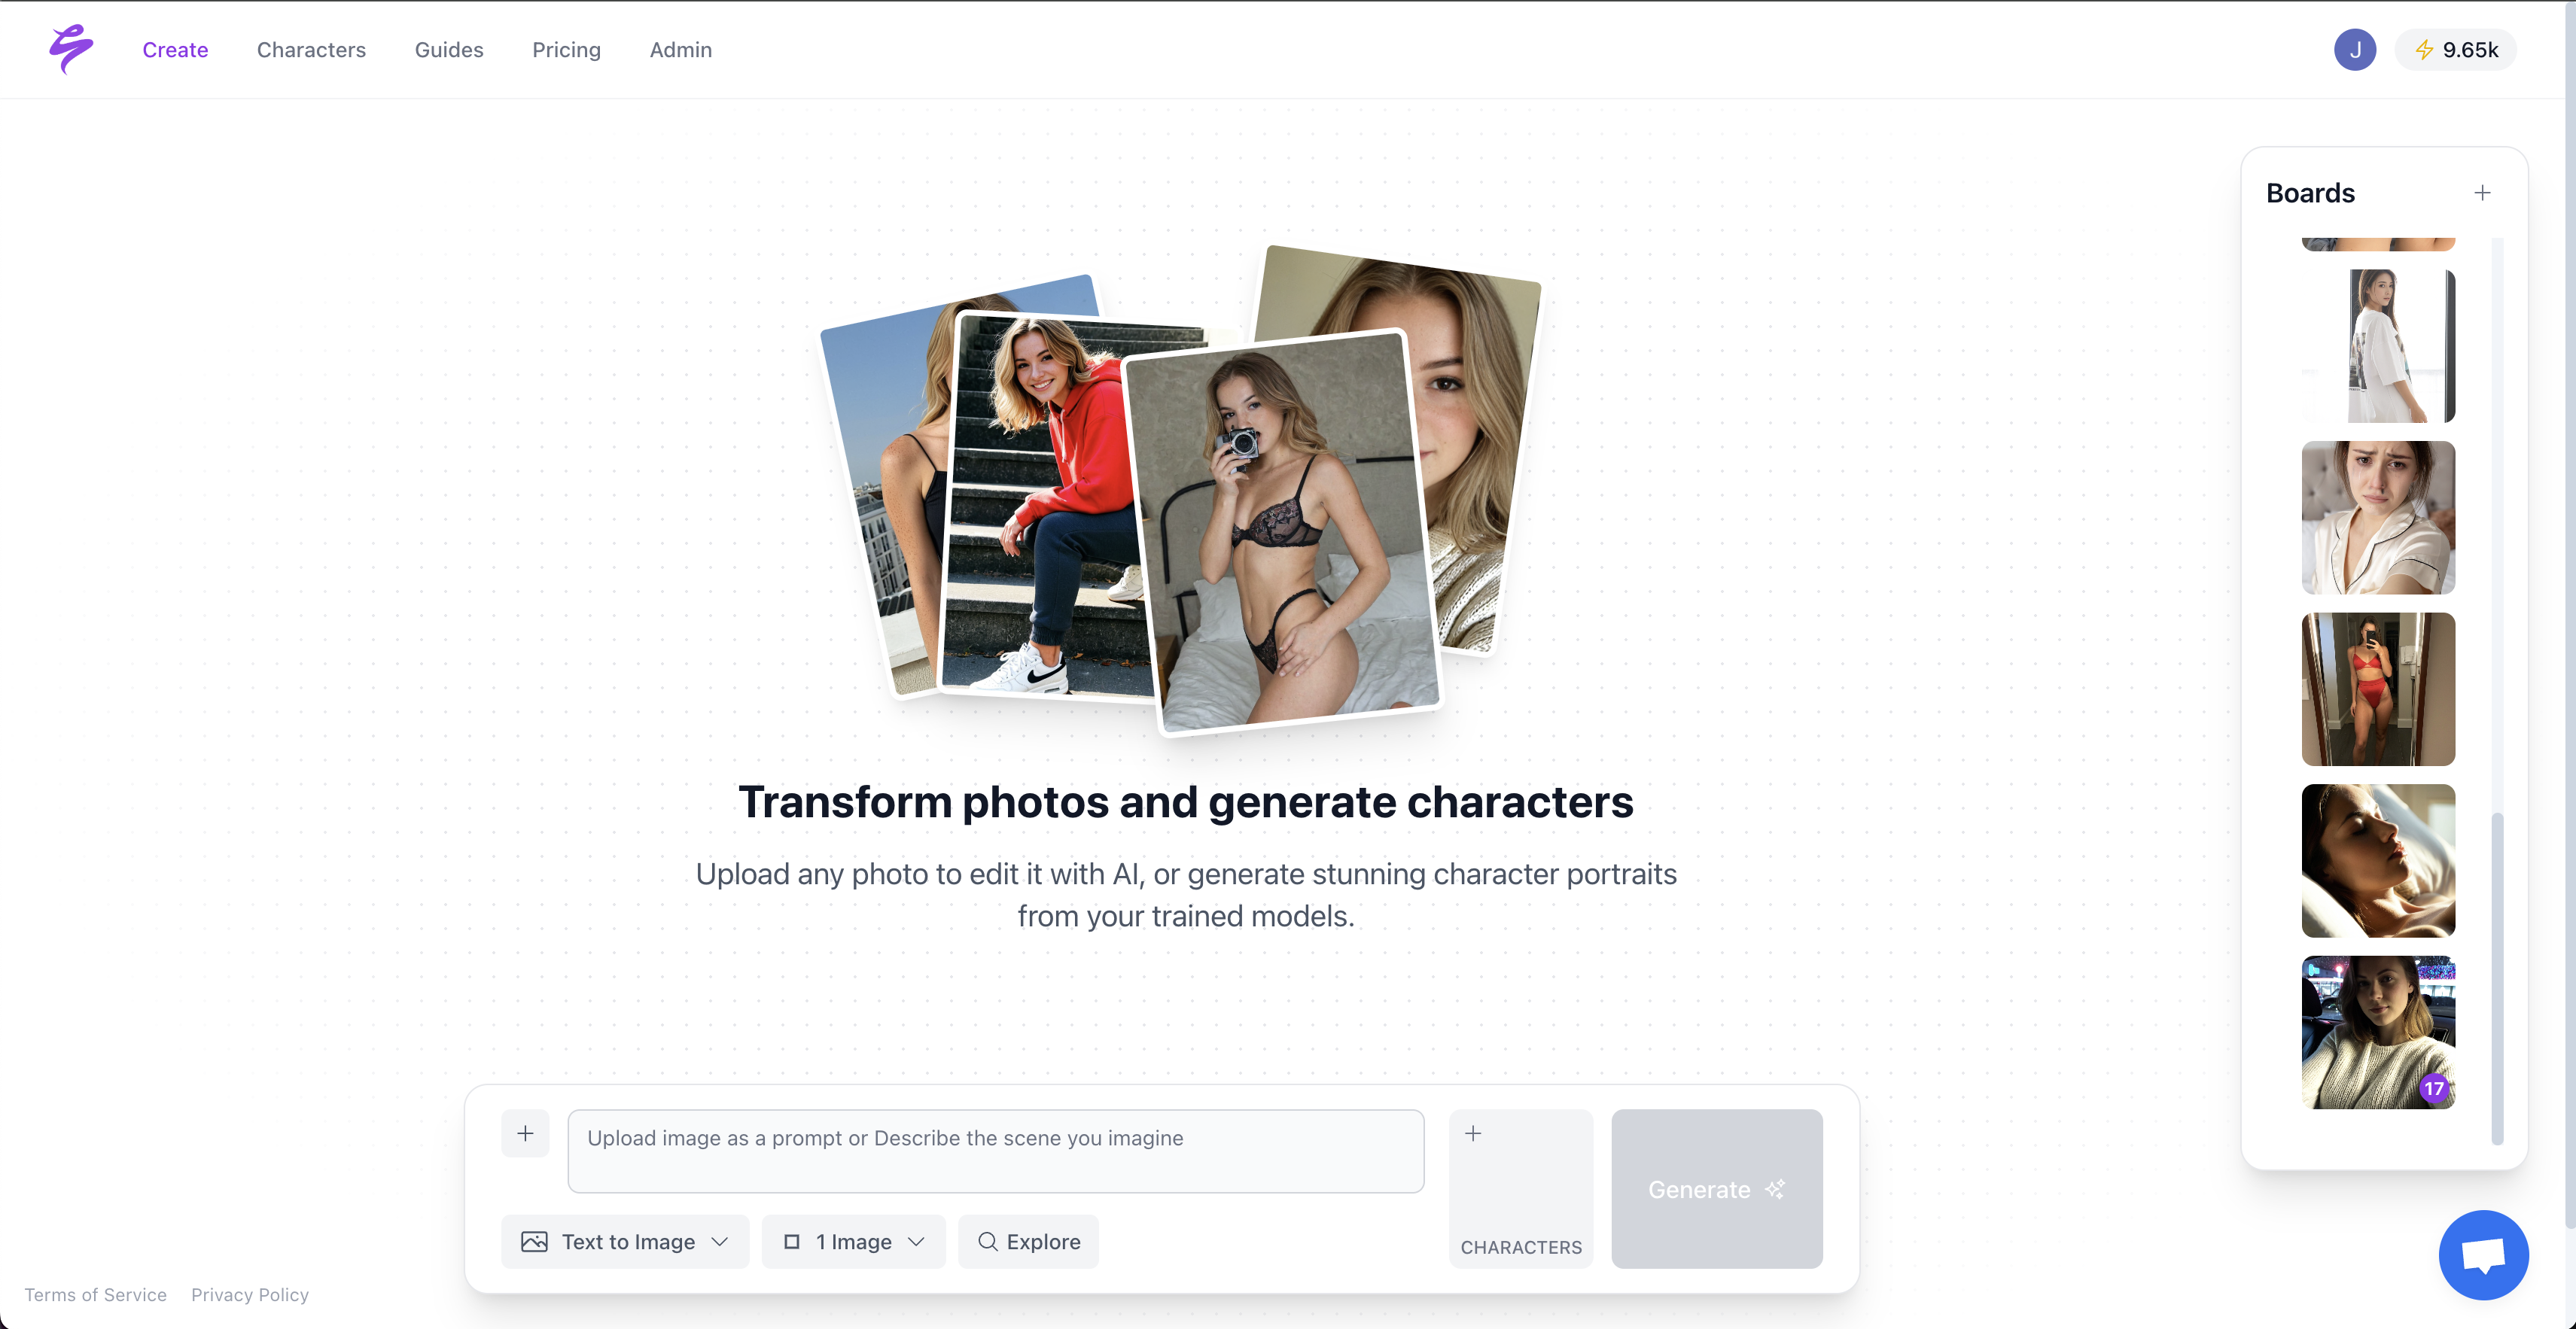
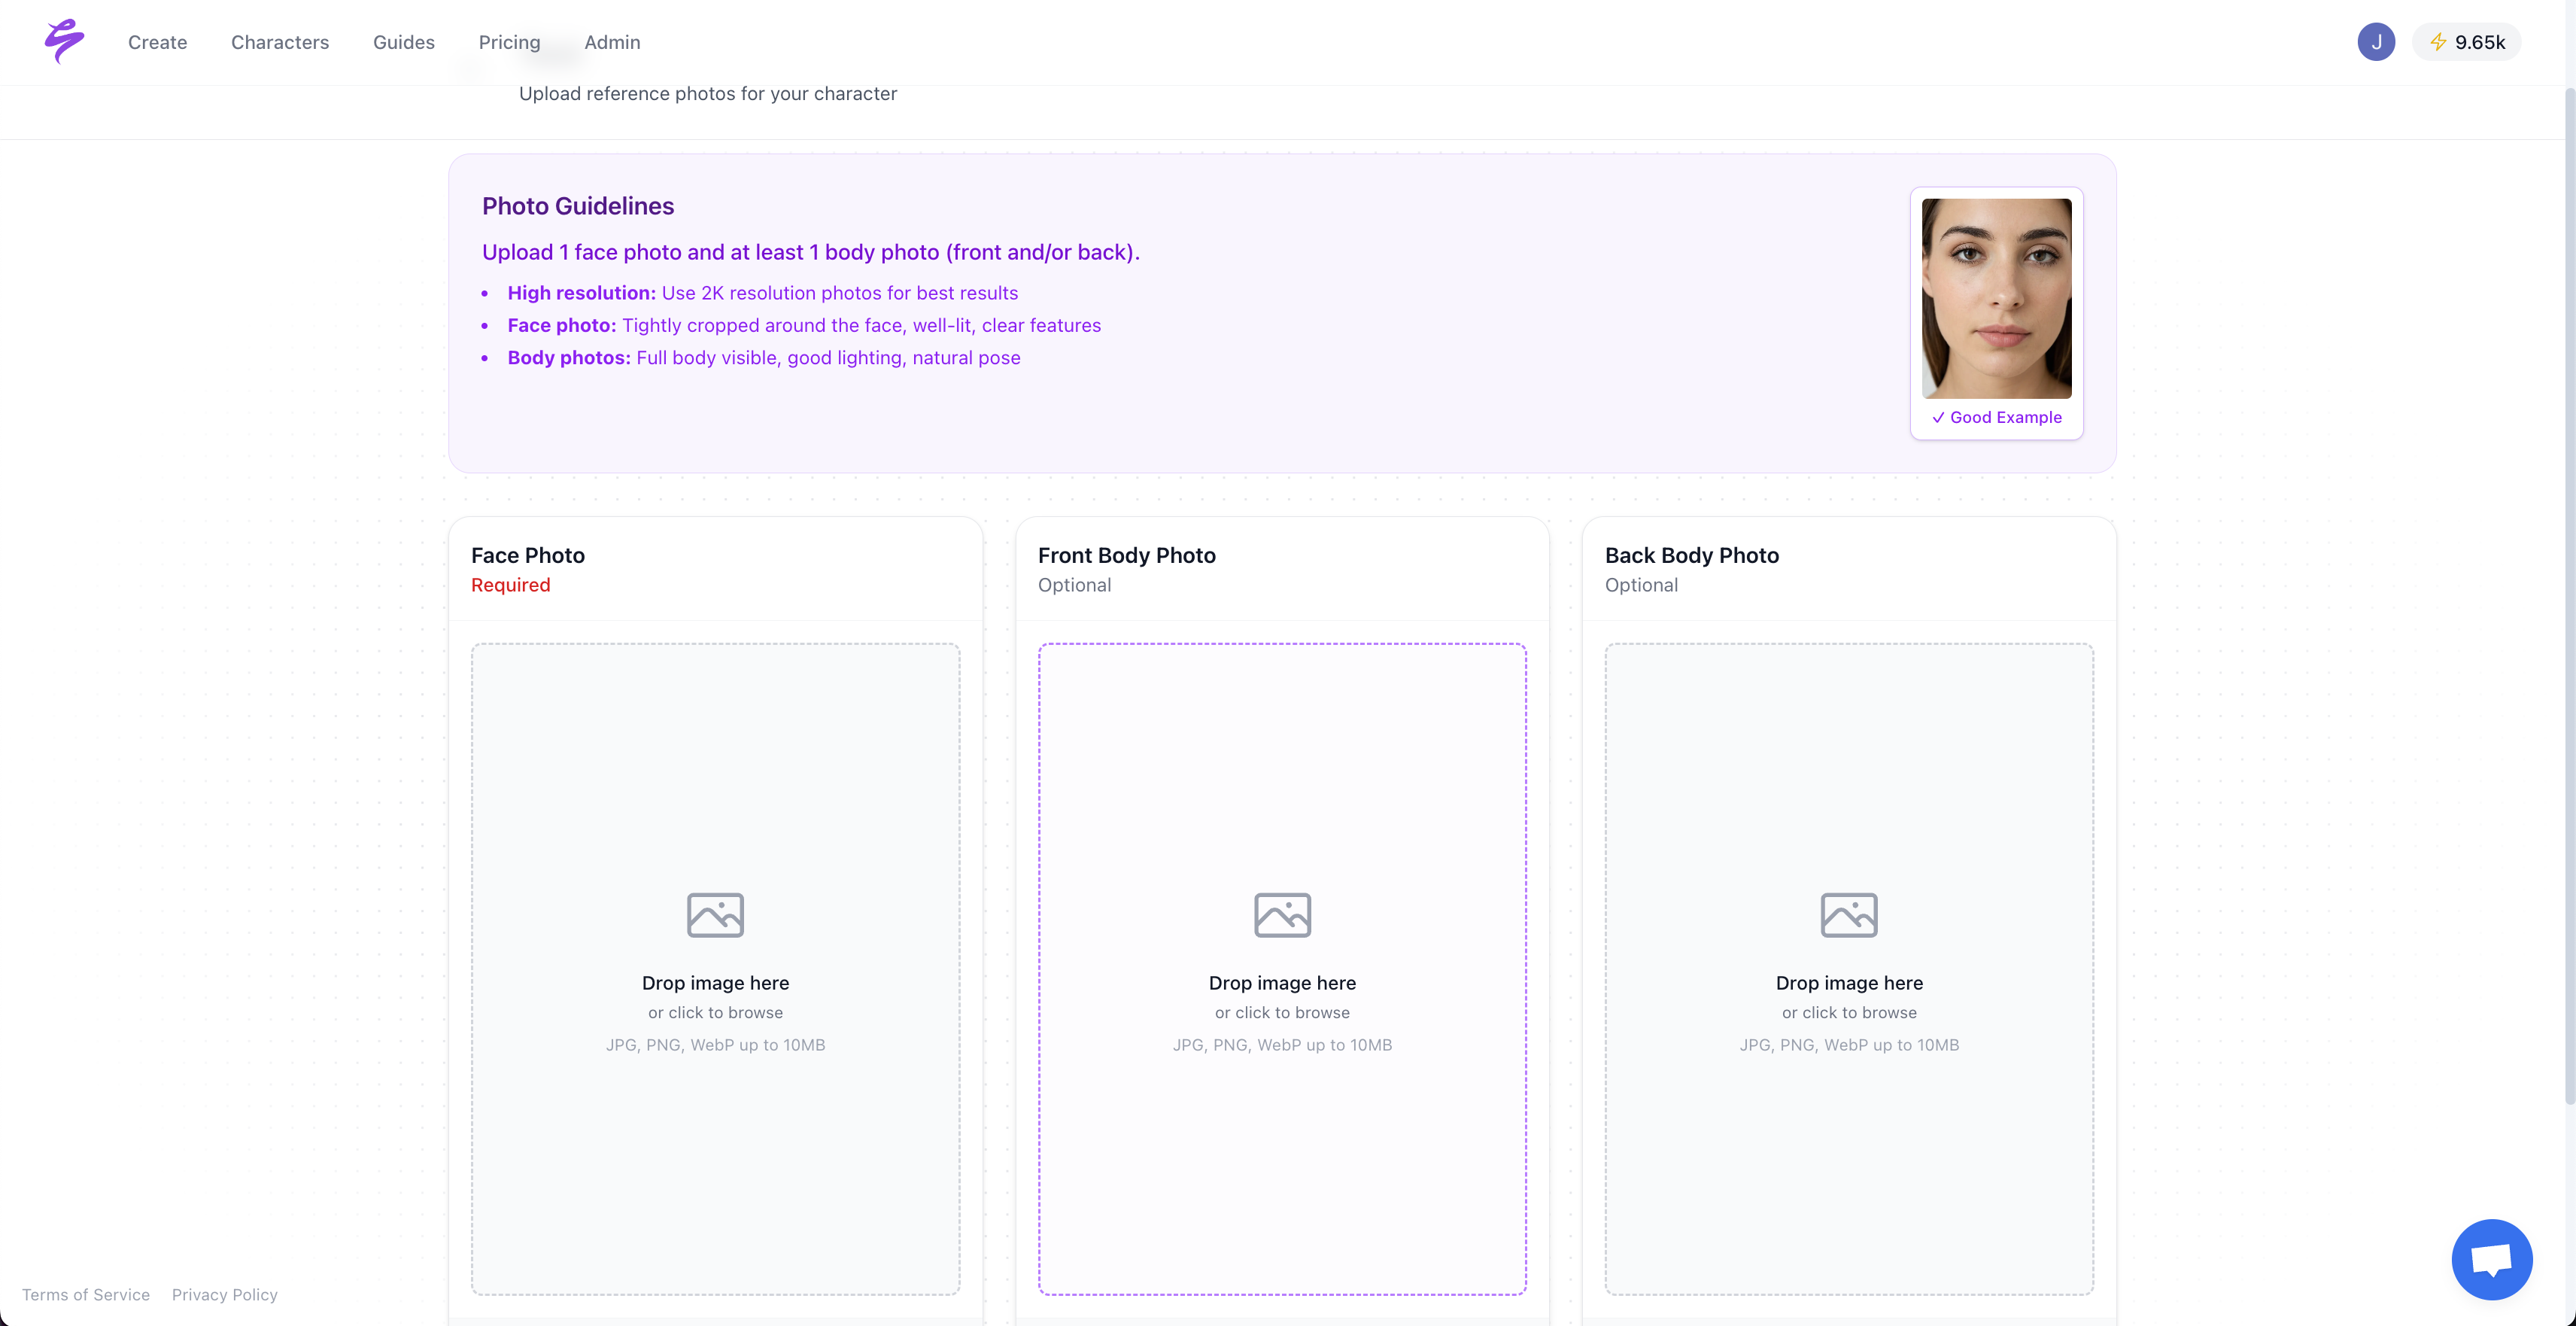
Sozee removes those barriers for creators and agencies. Upload three photos and Sozee reconstructs a consistent likeness instantly with no training, waiting, or parameter tuning. You can generate unlimited on-brand photos and videos, export SFW teaser packs and NSFW galleries for OnlyFans, Fansly, TikTok, Instagram, and X, then schedule and measure everything inside one platform. The Copilot AI Agent can plan, brief, and execute the entire workflow autonomously.
Pro Tips for Faster Portrait Production
- Inpaint hands last. Generate the full portrait first, then isolate the hand region for a targeted inpainting pass with anatomy-specific negative prompts. Use inpainting only when the image is already 90% correct.
- Use regional prompting for complex scenes. The BREAK keyword separates concepts into different conditioning chunks, such as red dress, blue eyes BREAK forest background, morning light, which prevents style bleed between subject and environment.
- Batch-generate teaser and NSFW sets together. Run Lightning mode at 4–6 steps to proof 20–30 compositions in minutes. Re-run the approved seeds at standard 30–40 steps for final output.
- Save reusable style bundles. Save your consistency anchor tokens, such as camera model, lens, lighting descriptor, and skin texture tag, as a preset to remove repetitive setup work. Apply the same bundle to every session so your brand look stays consistent across weeks of content.
- Plan with analytics. Track which portrait styles, lighting setups, and expressions drive the most engagement before you commit to a full monthly batch. Sozee’s native analytics reveal which posts convert to follows, subscriptions, and PPV sales.
Success Metrics for a Production-Ready Workflow
A production-ready Juggernaut XL portrait workflow delivers a full month of monetizable portraits, at least 30 sellable images, in under two hours of active session time. Final exports should show zero visible AI artifacts at full resolution. That means no waxy skin, no hand deformities, no eye asymmetry, and no over-saturation. Any workflow that needs more than two hours of active intervention per month, or that produces artifacts requiring manual retouching, has not yet reached a scalable standard.
Moving Beyond Manual Juggernaut Workflows with Sozee
Sozee extends the Juggernaut XL quality standard into a fully managed pipeline. Photo Control directs the exact shot, style, and expression frame by frame, similar to regional prompting but without syntax overhead. The Reimagine and inpainting editing suite fixes skin, hands, lighting, or any element in the frame without a full regeneration. Reel cloning recreates a proven high-performing TikTok or Instagram reel in a creator’s own likeness in minutes. The Copilot AI Agent proposes the content calendar, builds the brief, generates the assets, and schedules publication, turning a month of content into an afternoon of work.
For agencies managing multiple creators, Sozee adds approval flows, roster-level scheduling, and per-account analytics that no local Stable Diffusion installation can match.
See how Sozee’s managed pipeline handles your entire content calendar and start your free account.
Frequently Asked Questions
What is the best sampler for Juggernaut XL photorealistic portraits?
DPM++ 2M Karras is the standard recommendation for final-quality portrait renders with Juggernaut XL v9. It balances detail, speed, and stability across 30–40 steps. DPM++ SDE Karras is slightly slower but produces more detailed results and works well for refinement passes. For rapid iteration using the Lightning variant, DPM++ SDE at 4–6 steps and CFG 1–2 is the correct choice. Euler a renders faster but looks flatter and is not recommended for sellable portrait output.
Why does my Juggernaut XL output look plastic or waxy?
Waxy skin in Juggernaut XL outputs is primarily caused by insufficient latent steps rather than low resolution. Pixel upscaling alone does not restore missing skin detail. As covered in the troubleshooting section, the advanced KSampler with Zimage turbo latent repaint in ComfyUI remains the most effective fix because Start Step and End Step controls inject authentic skin texture without a full redraw. This approach works better than simple upscaling, which only enlarges existing pixels instead of creating new micro-texture.
What CFG scale should I use for Juggernaut XL in 2026?
The recommended CFG range for Juggernaut XL v9 is 3–7. Values in the 3–5 range produce the most photorealistic and natural results. CFG values above 10 cause over-saturation and degrade realism. For the Lightning variant, CFG must stay at 1–2 because the baked-in Lightning LoRA is calibrated for very low guidance. Start at CFG 5 for standard runs and reduce toward 3 if the output looks over-processed.
How is Juggernaut XL Lightning different from the standard model?
The Juggernaut XL V9+RDPhoto2-Lightning_4S model merges a 4-step Lightning LoRA directly into the checkpoint, which enables generation in 4–6 steps instead of 30–40. This setup makes Lightning significantly faster for batch proofing and rapid iteration. The trade-off is that Lightning mode requires a very low CFG of 1–2 and a different HiRes denoise setting of 0.35 at 2 steps, compared to 0.3 at 15 steps for the standard model. For final sellable portrait output, the standard workflow detailed in Step 1 delivers more detail control, while Lightning works best for proofing compositions before full-quality runs.
Can Sozee replace a Juggernaut XL workflow entirely?
Sozee is built for creators, agencies, and virtual-influencer teams that need consistent, high-volume photorealistic output without technical setup. It handles likeness recreation from as few as three photos, generates unlimited on-brand photos and videos, supports SFW-to-NSFW funnel exports, and includes native scheduling, analytics, and an AI Copilot that can run the entire workflow autonomously. For users focused on monetizable content at scale rather than fine-grained model parameter control, Sozee removes every barrier that a manual Juggernaut XL pipeline introduces, including VRAM requirements, sampler selection, step tuning, and post-generation scheduling.
Conclusion: Choosing Between Manual Juggernaut and Sozee
Juggernaut XL v9 and its 2026 successors, including the Lightning variant and Juggernaut XIII Ragnarok, sit at the current ceiling for photorealistic SDXL portrait generation. The workflow in this guide, 832×1216 resolution, DPM++ 2M Karras, 30–40 steps, CFG 3–5, structured prompt templates, iterative negative prompting, and latent-step skin repair, produces sellable portraits with no visible AI artifacts when executed carefully.
The manual pipeline remains technically demanding and does not scale well to daily posting, roster-wide brand consistency, or integrated monetization. Sozee preserves the same hyper-realism standard while removing technical barriers such as parameter tuning, VRAM management, separate scheduling tools, and guesswork about what content converts. It offers a practical next step for any creator or agency that wants to scale revenue from photorealistic content without running a local stack.
Make the switch to Sozee and scale your portrait production without the technical complexity.